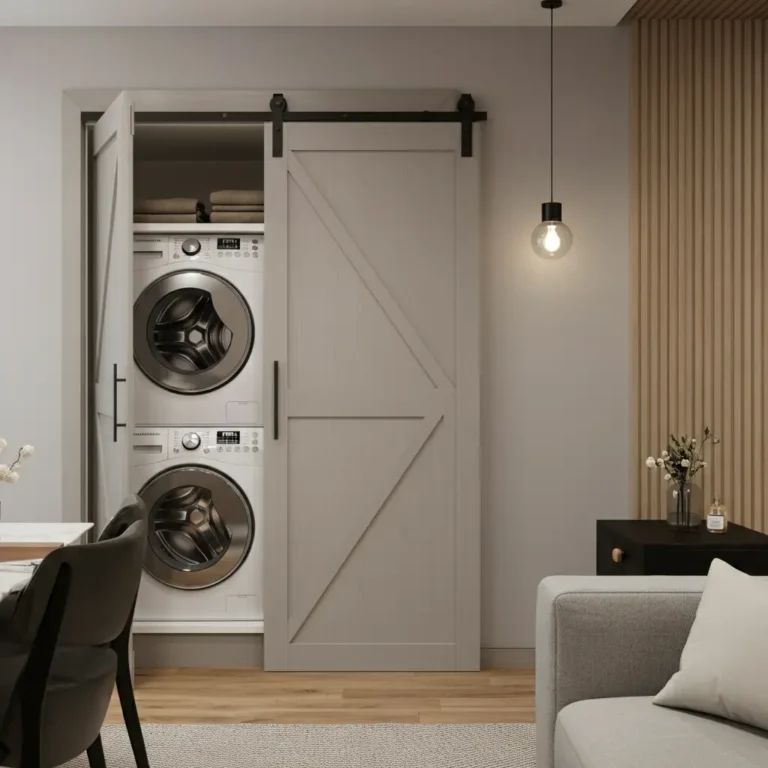
Utility Closet Organization Ideas That Really Work
The utility closet: it’s the unsung hero of the home, the place where we stash everything from brooms and mops to lightbulbs and batteries. But for many of us, this hardworking space quickly becomes a chaotic jumble. An overstuffed, disorganized closet makes it impossible to find what you need, turning simple tasks into a frustrating scavenger hunt. What if you could open that door to a space that is tidy, efficient, and even a little bit stylish?
With the right strategy, you can transform your cluttered utility closet into a model of organization. This guide is filled with practical, easy-to-follow ideas that will help you conquer the chaos. We’ll show you how to declutter, maximize your space, and implement smart storage solutions that make a real difference.
Start with a Clean Slate: The Decluttering Phase
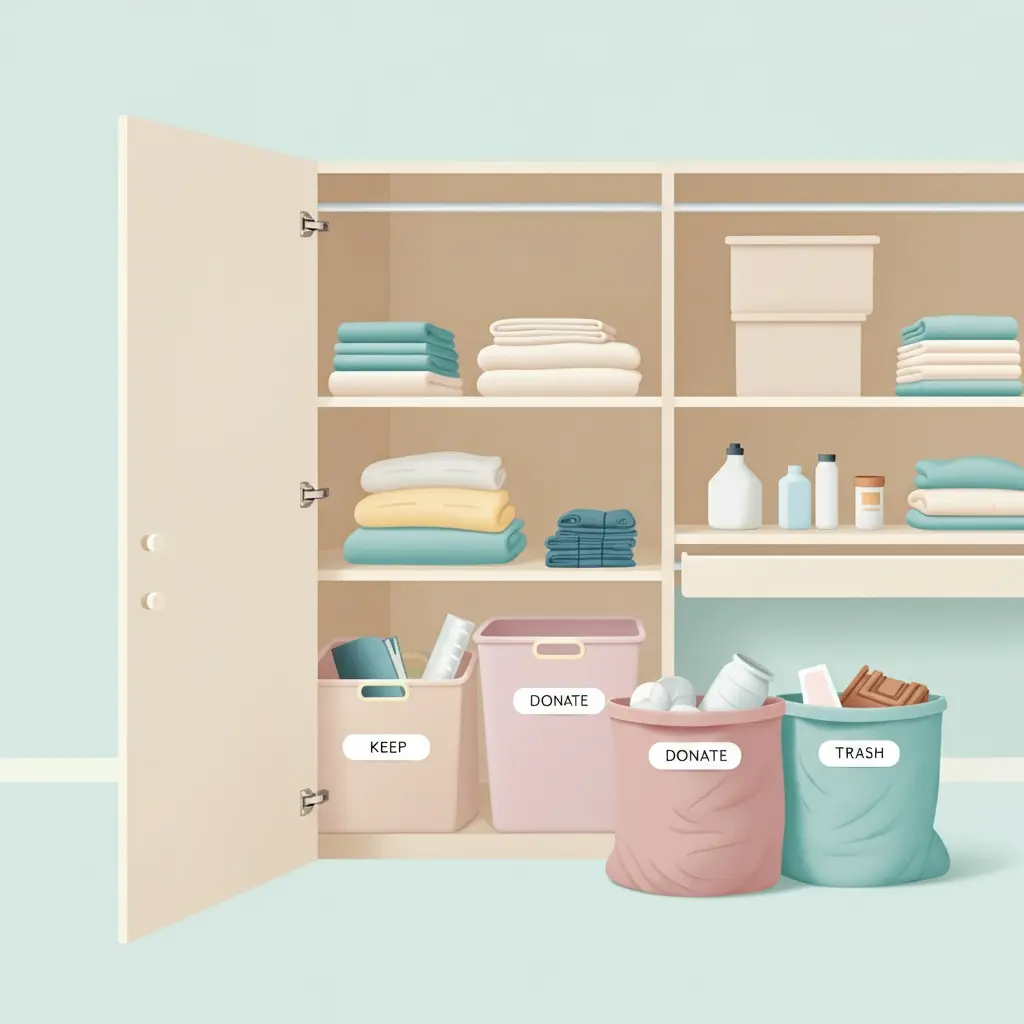
Before you can organize, you need to see what you’re working with. The first and most important step is to completely empty your utility closet. Yes, everything. This allows you to sort through your items, get rid of what you don’t need, and start fresh.
Sort and Simplify
Create three piles: Keep, Donate/Sell, and Trash. As you pick up each item, ask yourself a few simple questions:
- Do I still use this?
- Is it expired or broken? (Check dates on cleaning products and batteries.)
- Do I have duplicates of this item?
Be honest with yourself. That half-empty bottle of cleaner you haven’t touched in years? It’s time for it to go. This process will significantly reduce the volume of items you need to store, making the rest of the job much easier.
Clean the Space
Once the closet is empty, give it a thorough cleaning. Wipe down the shelves, sweep or vacuum the floor, and patch any scuffs or holes in the walls. A fresh coat of light-colored paint can also make the space feel brighter and larger.
Maximize Every Inch: Smart Storage Strategies
With a clean, empty closet, you can now plan your new organizational system. The key to success in a small space is to use every available inch, especially the vertical and hidden areas.
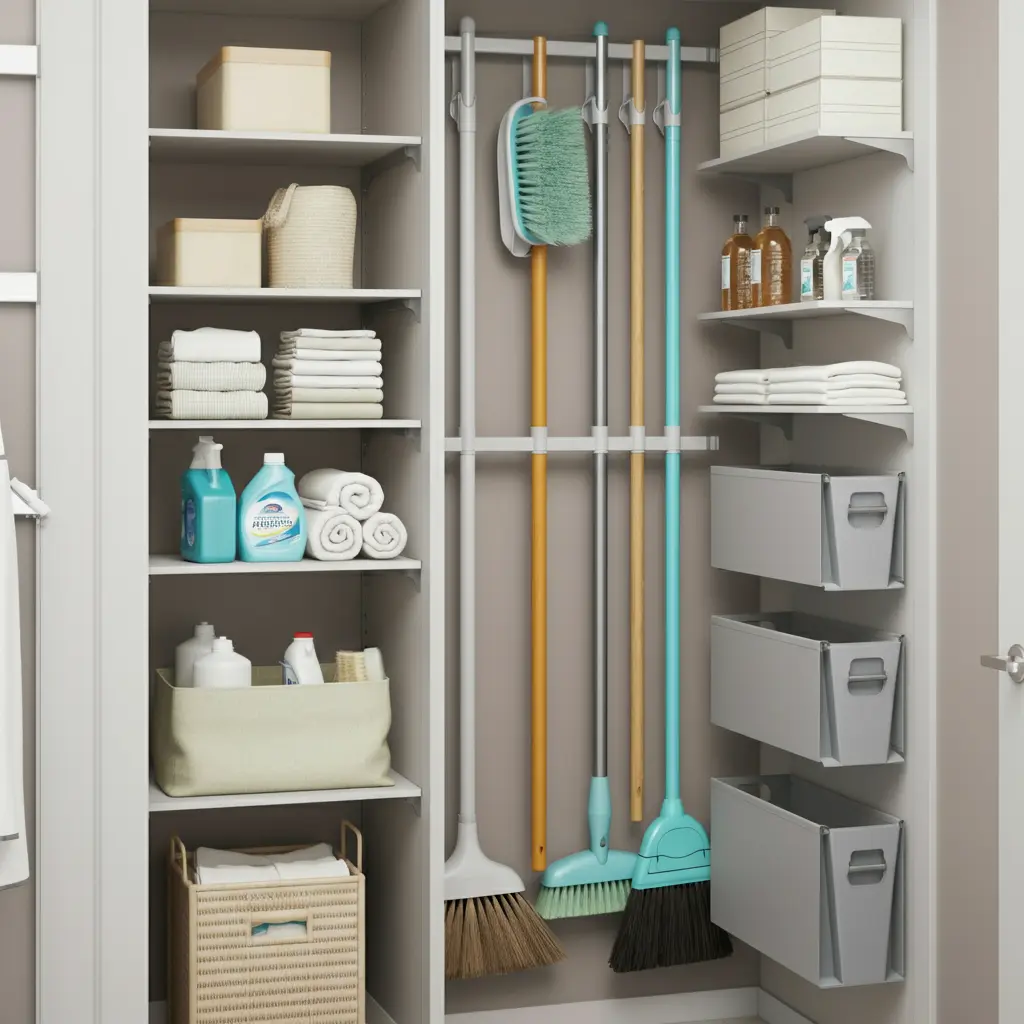
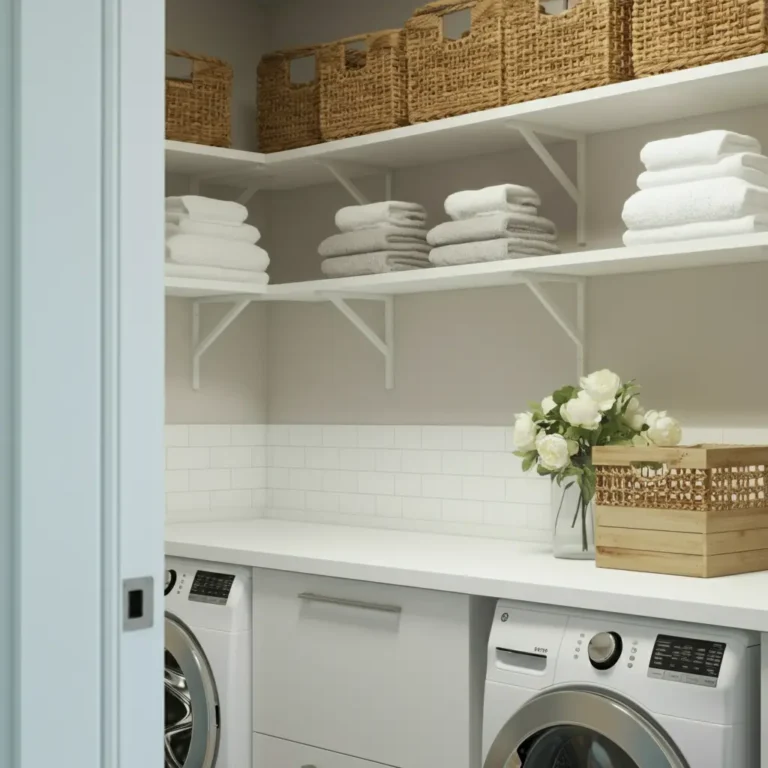
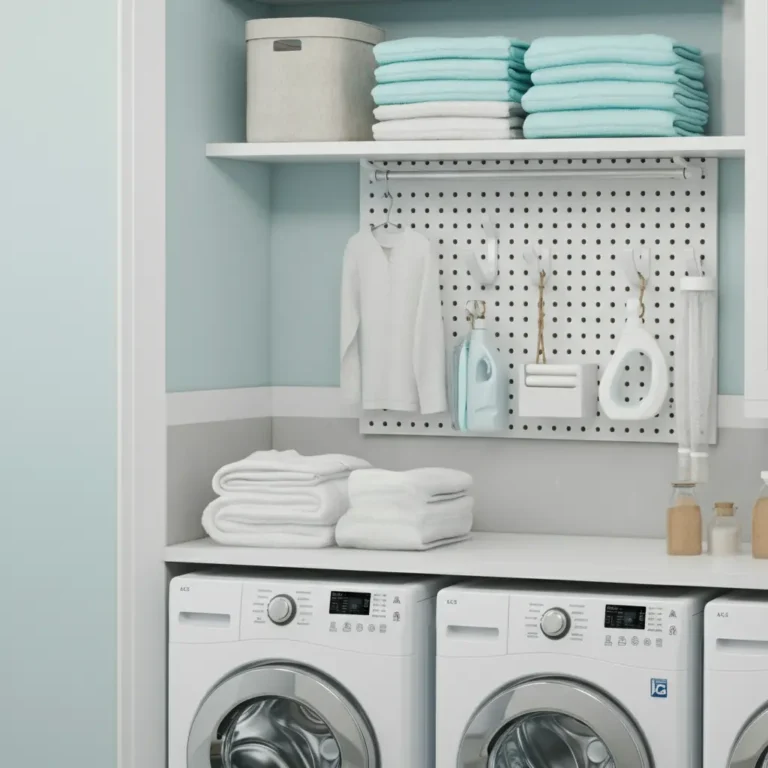
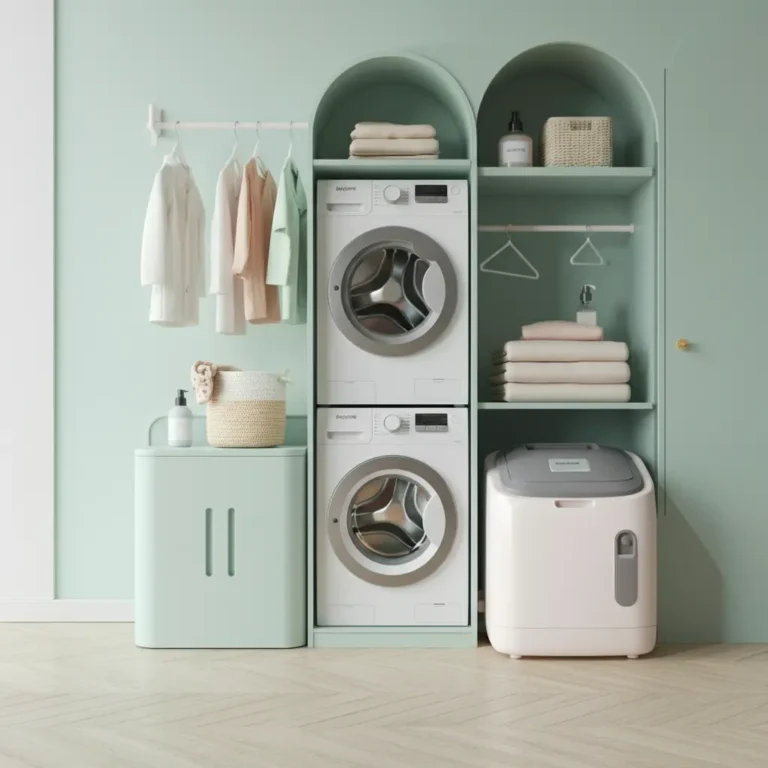
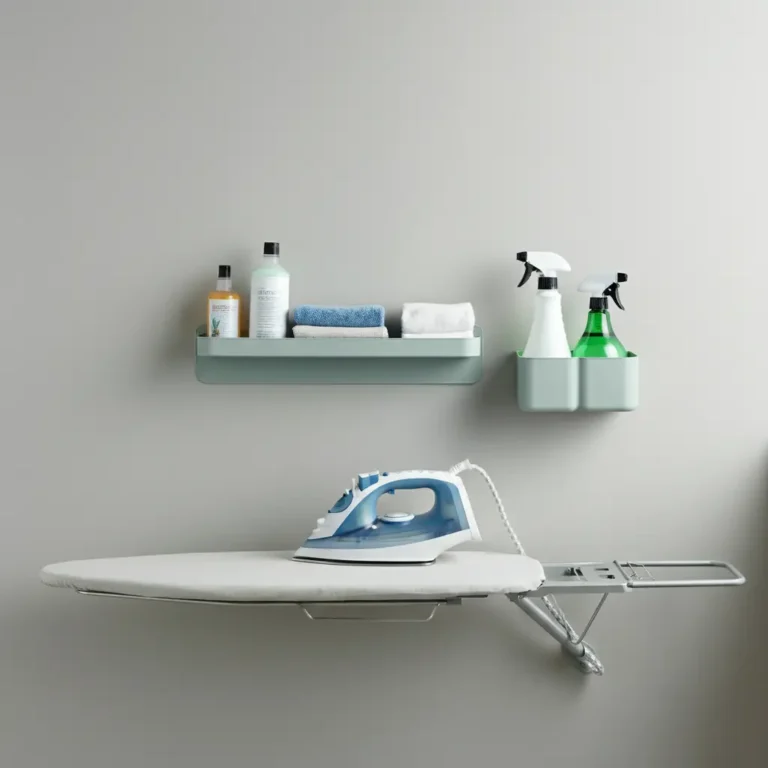
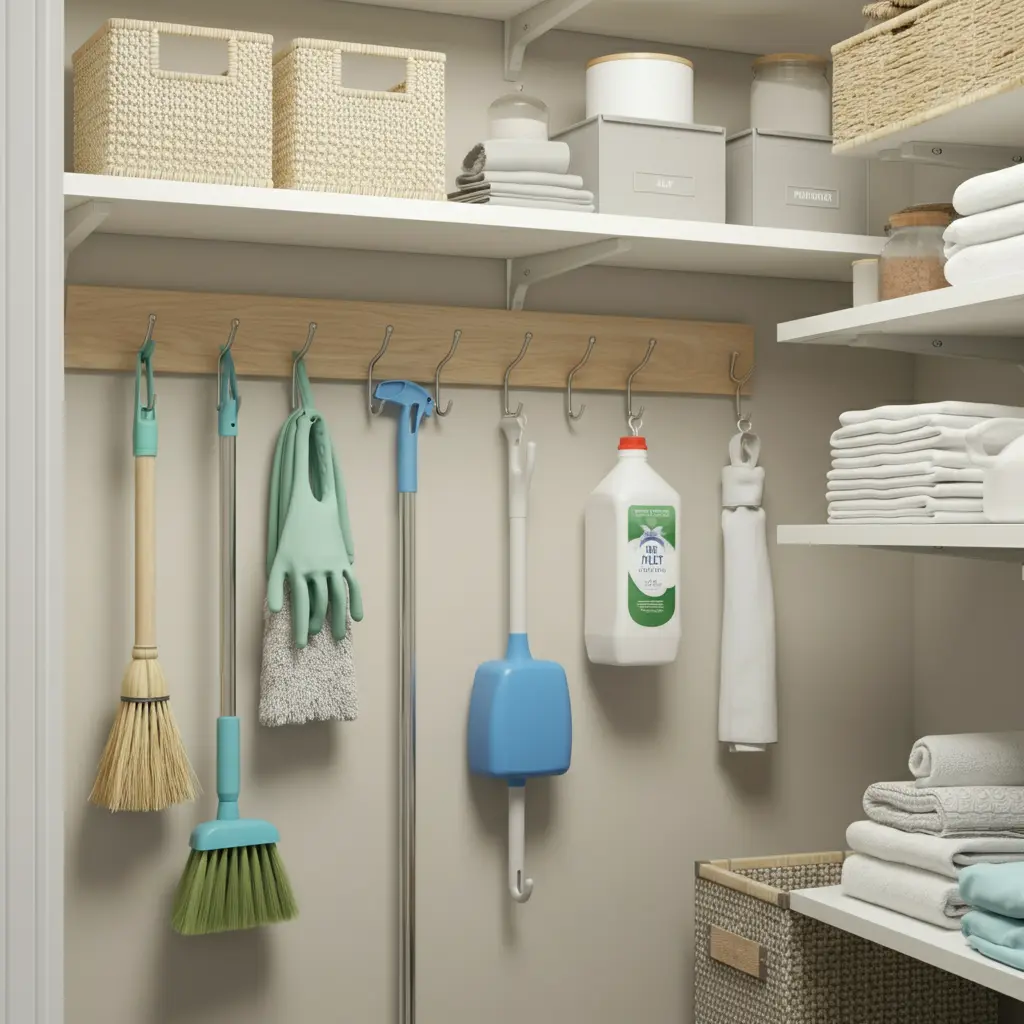
Go Vertical with Shelving and Racks
Your closet walls are prime real estate. Using vertical space is the most effective way to increase storage capacity without taking up valuable floor space.
- Adjustable Shelving: If your closet allows, install an adjustable track shelving system. This gives you the flexibility to change shelf heights as your storage needs evolve.
- Wall-Mounted Racks: Use wall-mounted racks to hold long-handled items like brooms, mops, and dusters. This gets them off the floor and keeps them from falling over.
- The Back of the Door: Don’t forget the door! An over-the-door organizer is perfect for storing smaller items. Choose one with clear pockets for things like sponges and cleaning cloths, or a rack with wire baskets for bottles and sprays.
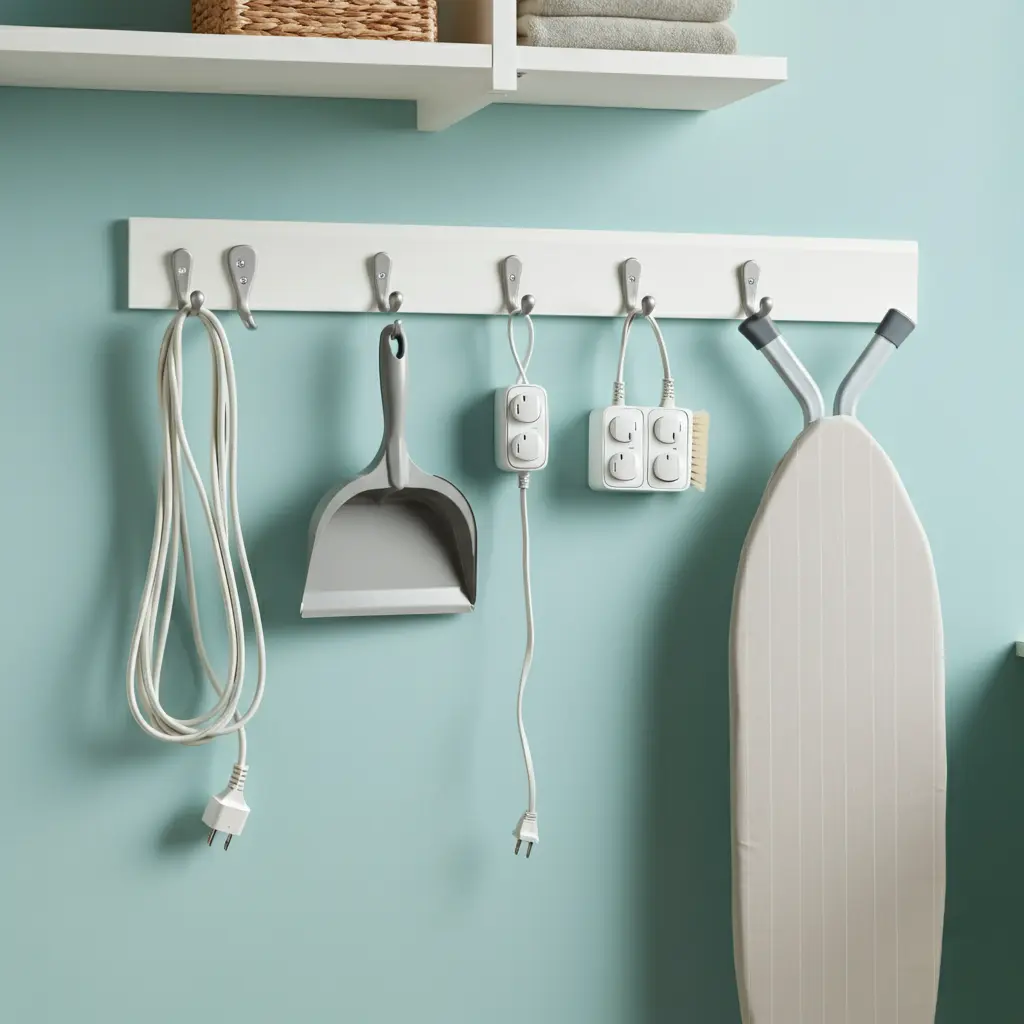
Use Hooks for Hanging
Hooks are a simple but powerful organization tool. They are inexpensive, easy to install, and incredibly versatile. Use them to hang dustpans, step stools, extension cords, and even your ironing board. Placing hooks strategically along the walls or on the side of shelving units keeps bulky items contained and accessible.
The Right Containers for the Job
Now it’s time to put everything back in an orderly fashion. Using the right containers will keep your closet tidy and make it easy to find what you need.
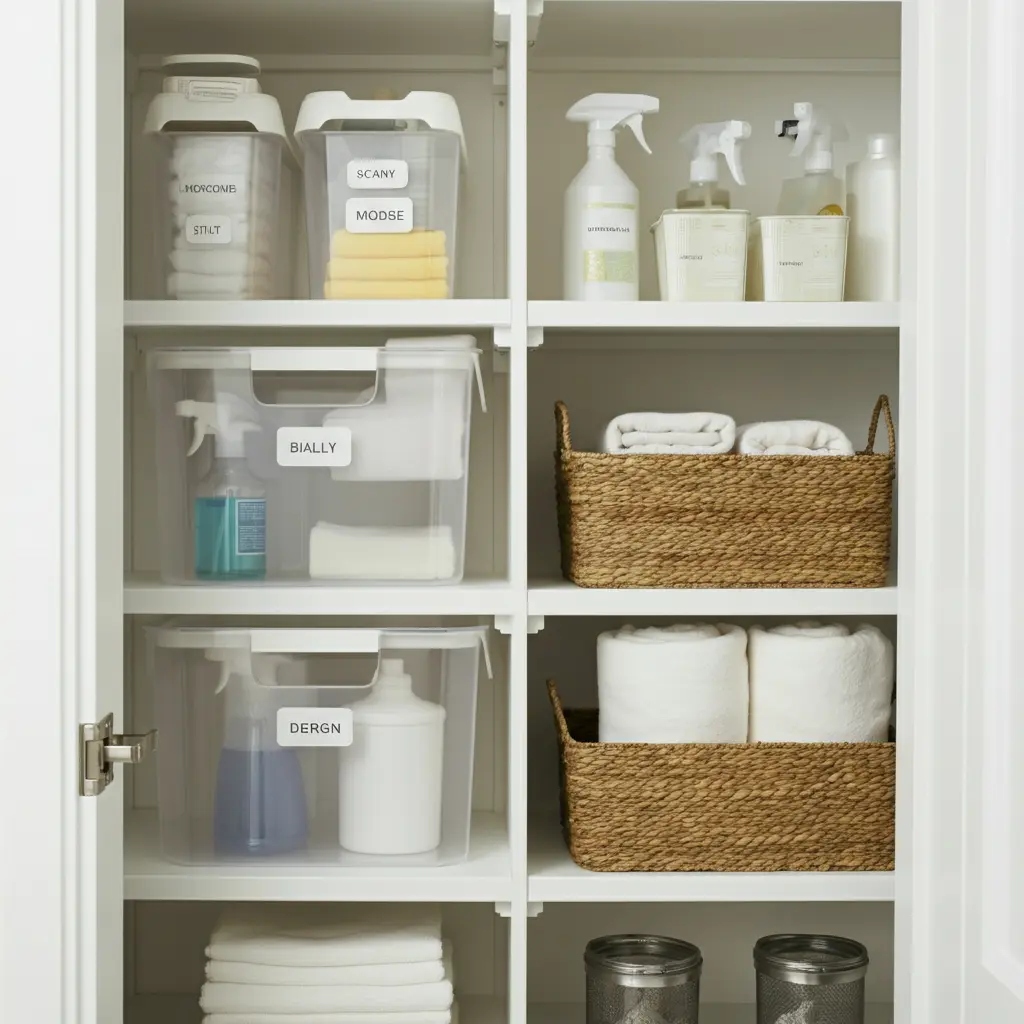
Clear Bins are Your Best Friend
Store items in clear, stackable bins. Being able to see what’s inside a container saves you from having to pull down every single one to find the right cleaning spray. Group similar items together—for example, one bin for dusting supplies, another for floor cleaners, and a third for extra lightbulbs.
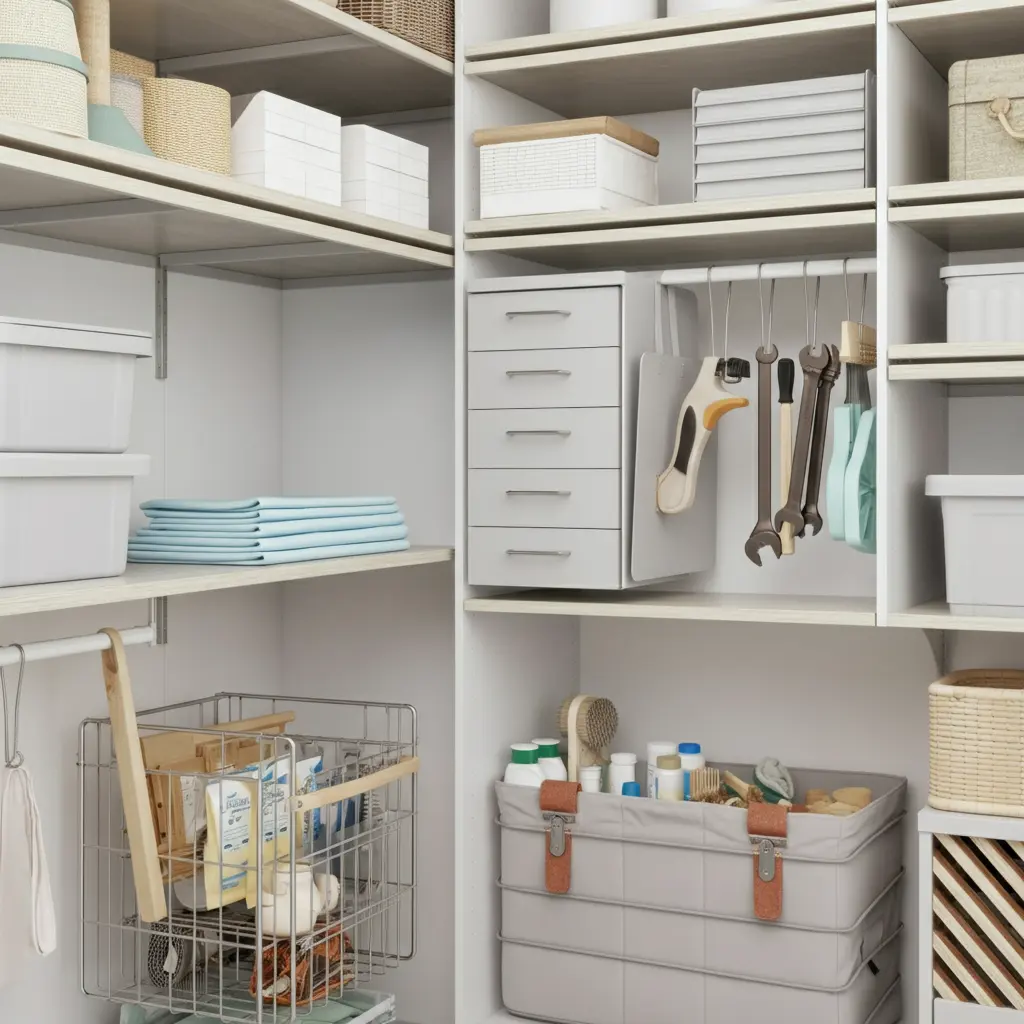
Use Baskets for a Softer Look
For open shelves, woven or wire baskets can create a more decorative and cohesive look. They are great for holding rolled-up cleaning towels, paper towel rolls, or trash bags. Just like with bins, group like items together.
Label Everything
This might seem like a small step, but it’s a game-changer for long-term organization. Use a label maker or simple handwritten tags to identify the contents of every bin and basket. This ensures you (and everyone else in your household) know exactly where things go, making it much easier to maintain your newly organized space.
Create Zones for Easy Access
To make your utility closet truly functional, think in terms of zones. Group items based on how often you use them.
- Everyday Items: Store the things you reach for most often—like your all-purpose cleaner or broom—at eye level and near the front of the closet for quick and easy access.
- Less-Used Items: Bulk supplies, seasonal items, and things you only use occasionally can be stored on the highest shelves or at the very back.
- Specialty Zones: You might create a small “toolkit” zone with a hammer, screwdriver, and batteries, or a dedicated spot for pet supplies.
By following these utility closet organization ideas, you can create a system that not only works but is also easy to maintain. A well-organized closet saves you time, reduces stress, and brings a sense of calm and order to your home.