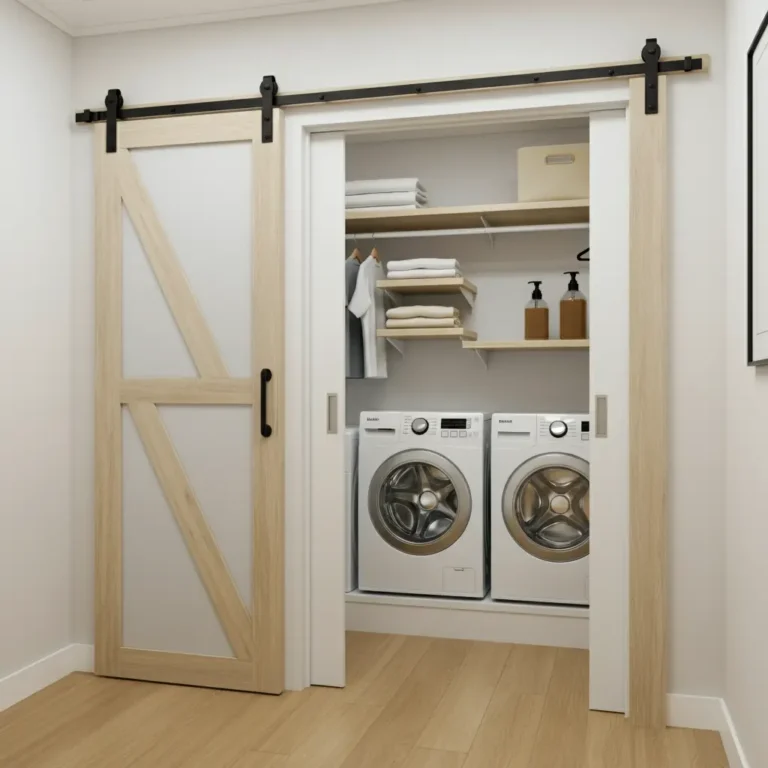
DIY Laundry Shelves and Cabinets for Small Apartments
Living in a small apartment often means getting creative with storage. The laundry area, whether it’s a closet, a corner, or part of the bathroom, is usually the first space to feel cramped and cluttered. But what if you could transform that tight spot into an organized and functional zone without spending a fortune? DIY laundry shelves and cabinets are the perfect solution to conquer clutter in small apartments.
Building your own storage not only saves money but also allows you to create a system perfectly tailored to your space and needs. You can design shelves that fit around your machines or build cabinets that hide away detergents and supplies. This guide will walk you through everything you need to know to create beautiful and practical DIY laundry shelves and cabinets that maximize every inch of your apartment.
Why Go DIY for Your Laundry Area?
Before you start measuring and cutting, let’s talk about the perks of a DIY approach. Commercial storage solutions can be expensive and often don’t fit well in the unique, tight spaces common in apartments.

With a DIY project, you are in complete control. You choose the materials, the dimensions, and the finish, ensuring the final product works for your specific laundry organization needs. It’s a satisfying way to add a personal touch to your home while solving a common storage problem. Plus, the sense of accomplishment you get from building something with your own hands is a fantastic bonus.
Getting Started: Materials and Tools
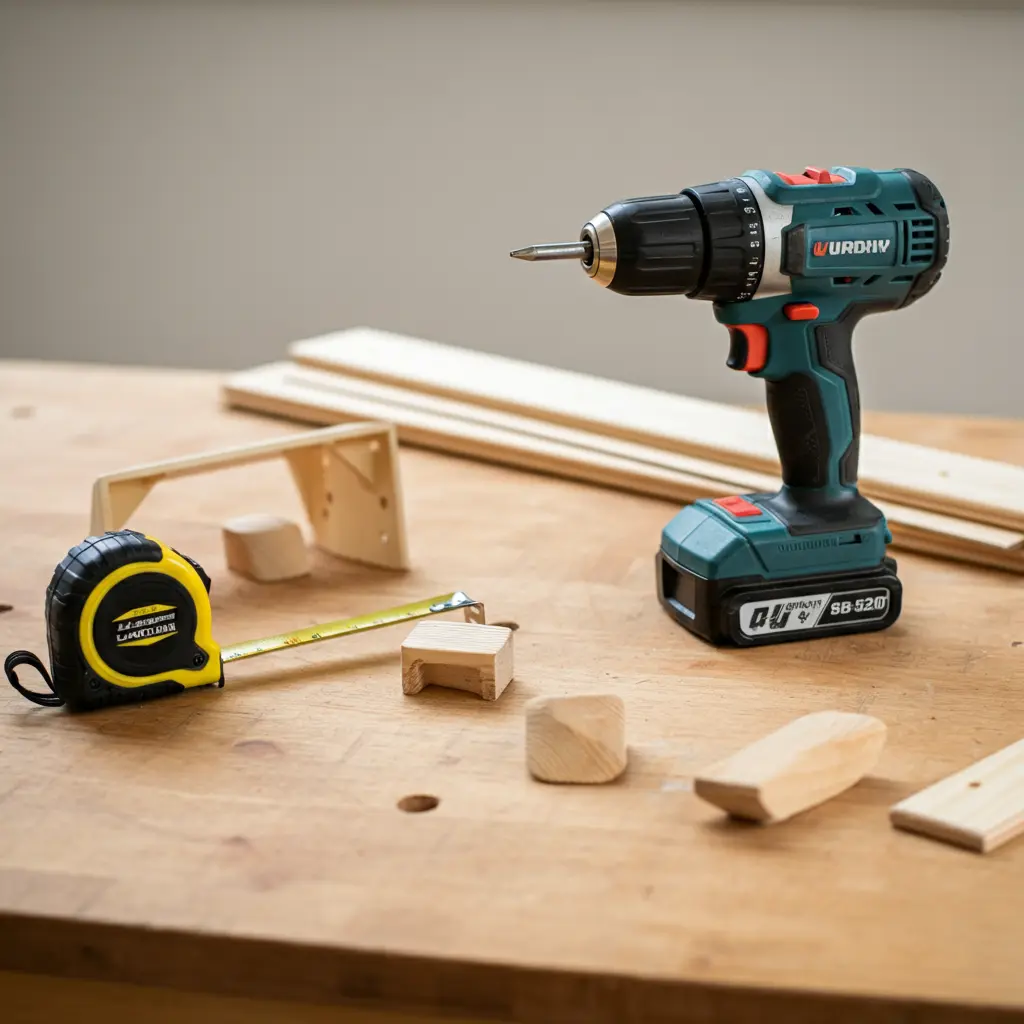
A successful DIY project begins with the right supplies. You don’t need a professional workshop to build simple shelves or cabinets. Here is a basic list of what you’ll likely need.
Essential Tools:
- Tape measure
- Pencil
- Level
- Drill with various bits
- Stud finder
- Saw (a circular or hand saw will work)
- Screwdriver
- Safety glasses and gloves
Common Materials:
- Wood Boards: Pine is an affordable and easy-to-work-with option for shelves. Plywood is great for building cabinet boxes.
- Shelf Brackets: Choose from simple L-brackets, decorative metal brackets, or heavy-duty options depending on your style and what you plan to store.
- Screws and Wall Anchors: Make sure to get screws long enough to secure into studs. Use drywall anchors for lighter loads if a stud isn’t available.
- Sandpaper: To smooth out any rough edges before painting or staining.
- Paint, Stain, or Sealer: To protect the wood from moisture and match your decor.
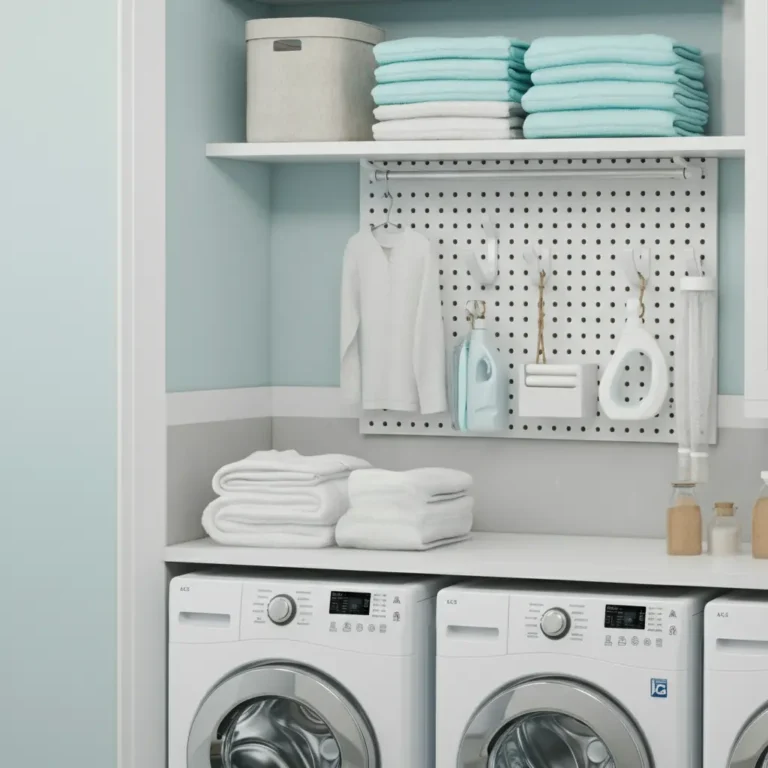
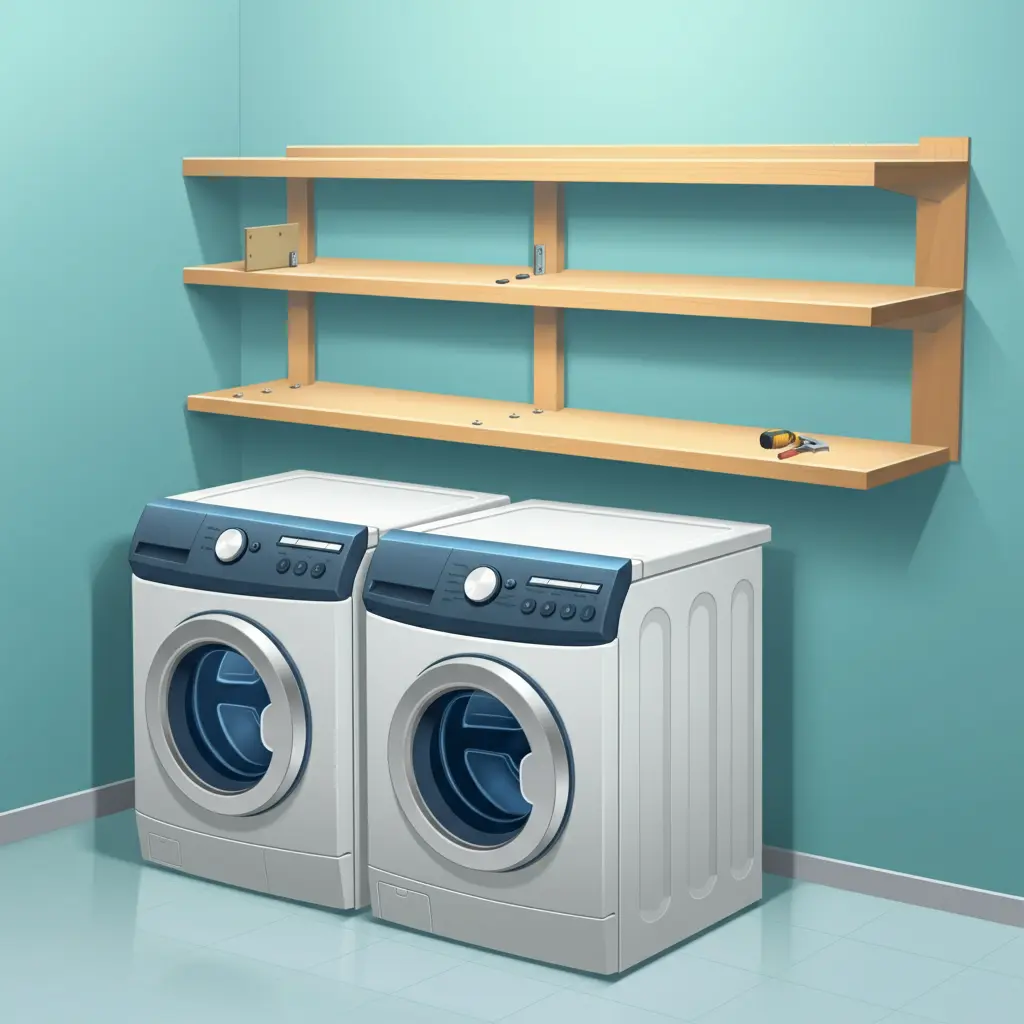
Project 1: Simple DIY Floating Laundry Shelves
Floating shelves are a stylish and modern way to add storage above your washer and dryer. They create an open, airy feel and are surprisingly easy to build.
Step-by-Step Guide:
- Measure Your Space: Decide how long and deep you want your shelves to be. A depth of 12 inches is standard and holds most laundry supplies without sticking out too far. Measure the width of your laundry area to determine the shelf length.
- Cut Your Boards: Cut your wood boards to the desired length. Most hardware stores can cut the wood for you if you don’t have a saw. Lightly sand all surfaces and edges until they are smooth.
- Finish the Wood: Apply your chosen paint, stain, or sealer. Follow the product’s instructions and allow it to dry completely. Applying a sealer is especially important in a laundry area to protect the wood from moisture.
- Locate Wall Studs: Use a stud finder to mark the location of the studs in your wall. Securing shelves to studs is the safest way to ensure they can hold weight.
- Install Brackets: Hold your first bracket against the wall at the desired height, making sure it aligns with a stud mark. Use a level to ensure it’s straight, then mark the screw holes. Drill pilot holes and secure the bracket with screws. Repeat for the other brackets, using a level to make sure they are perfectly aligned.
- Mount the Shelf: Place your finished wood board on top of the brackets and secure it from below with short screws.
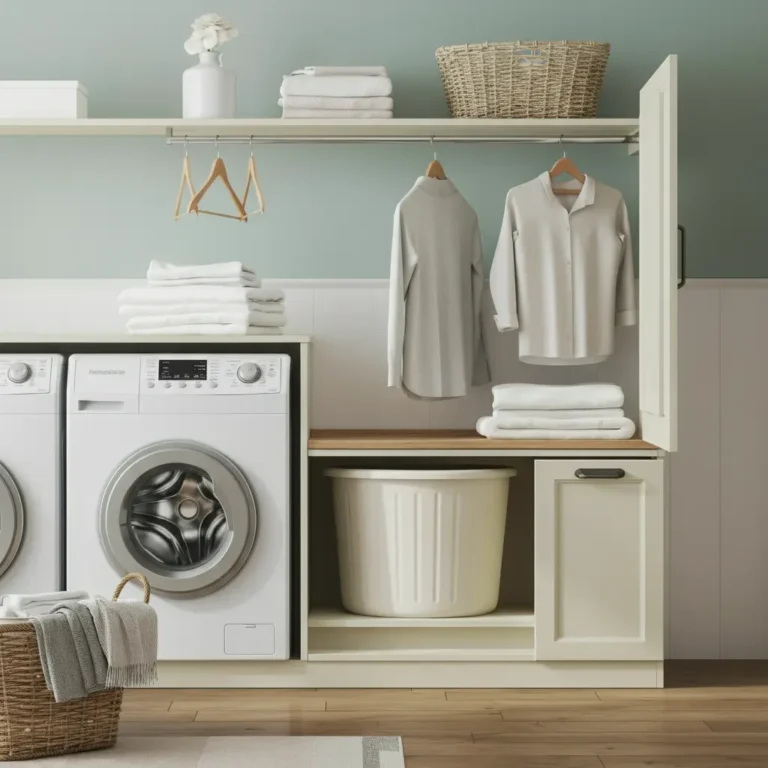
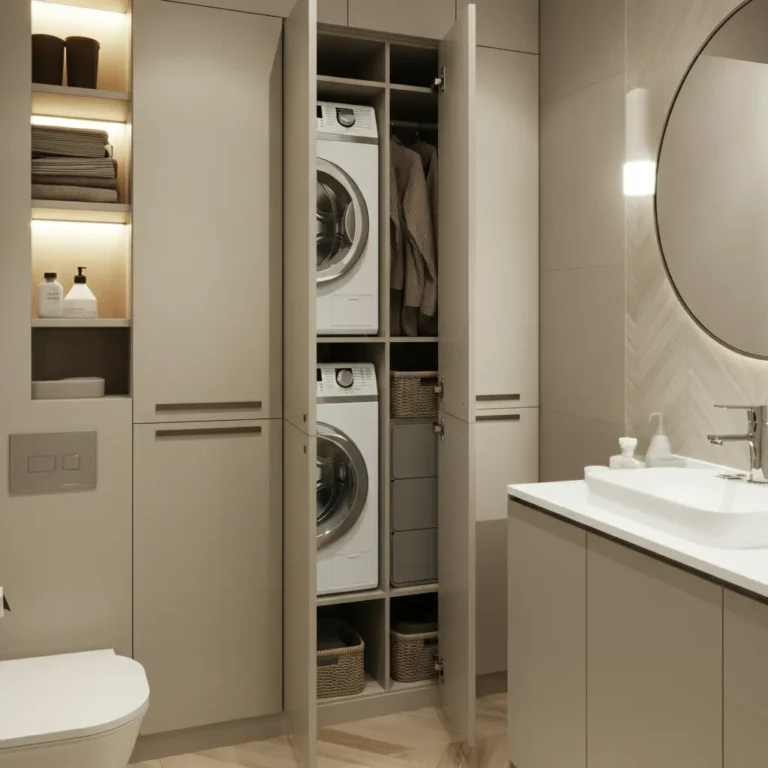
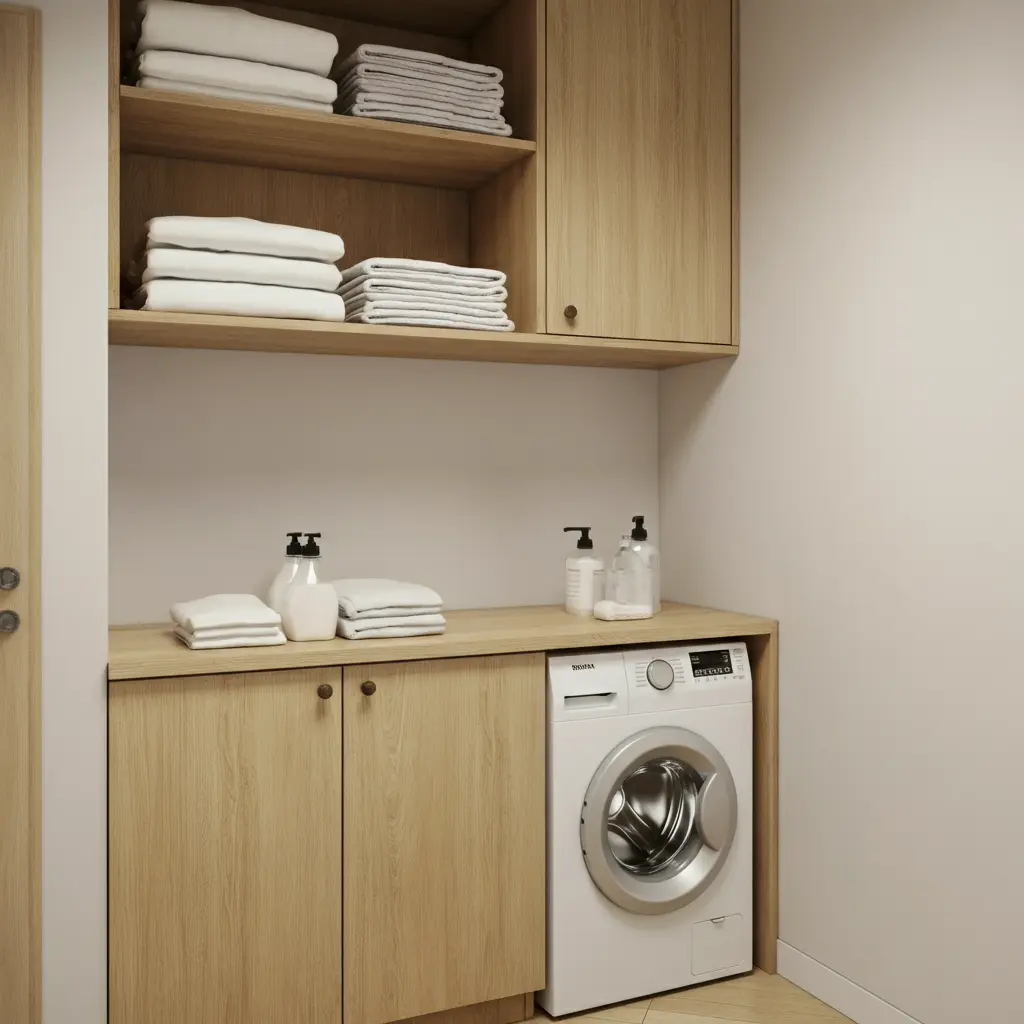
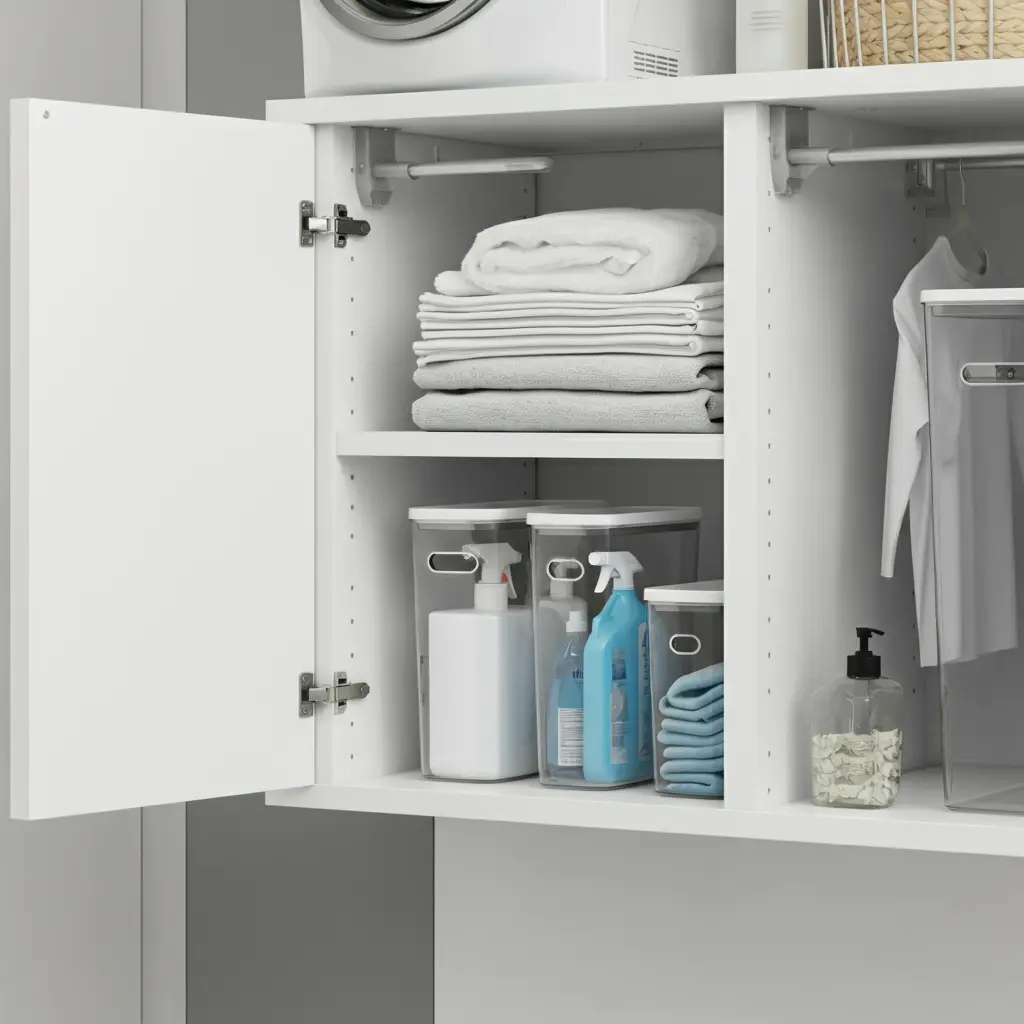
Project 2: Building a Space-Saving Cabinet
If you prefer to keep your laundry supplies hidden, a simple DIY cabinet is a great project. You can build a basic box cabinet to mount on the wall or a narrow rolling cart to slide between your machines.
Step-by-Step Guide:
- Design and Measure: Sketch out your cabinet design. For a simple wall cabinet, you’ll need to build a box with a back panel and add doors. Measure your space to determine the height, width, and depth.
- Cut the Plywood: Cut the plywood pieces for the top, bottom, sides, and back of your cabinet box. You will also need pieces for the doors.
- Assemble the Box: Using wood glue and screws, attach the sides to the bottom piece, then add the top. Check that the box is square. Once the frame is built, attach the back panel.
- Build and Attach Doors: Attach hinges to the doors and then mount them to the cabinet frame. Add knobs or handles for easy opening.
- Finish and Mount: Sand the entire cabinet and apply paint or stain. To mount it on the wall, you can either screw it directly into the studs through the back panel or use a mounting rail (French cleat) for a secure hold.
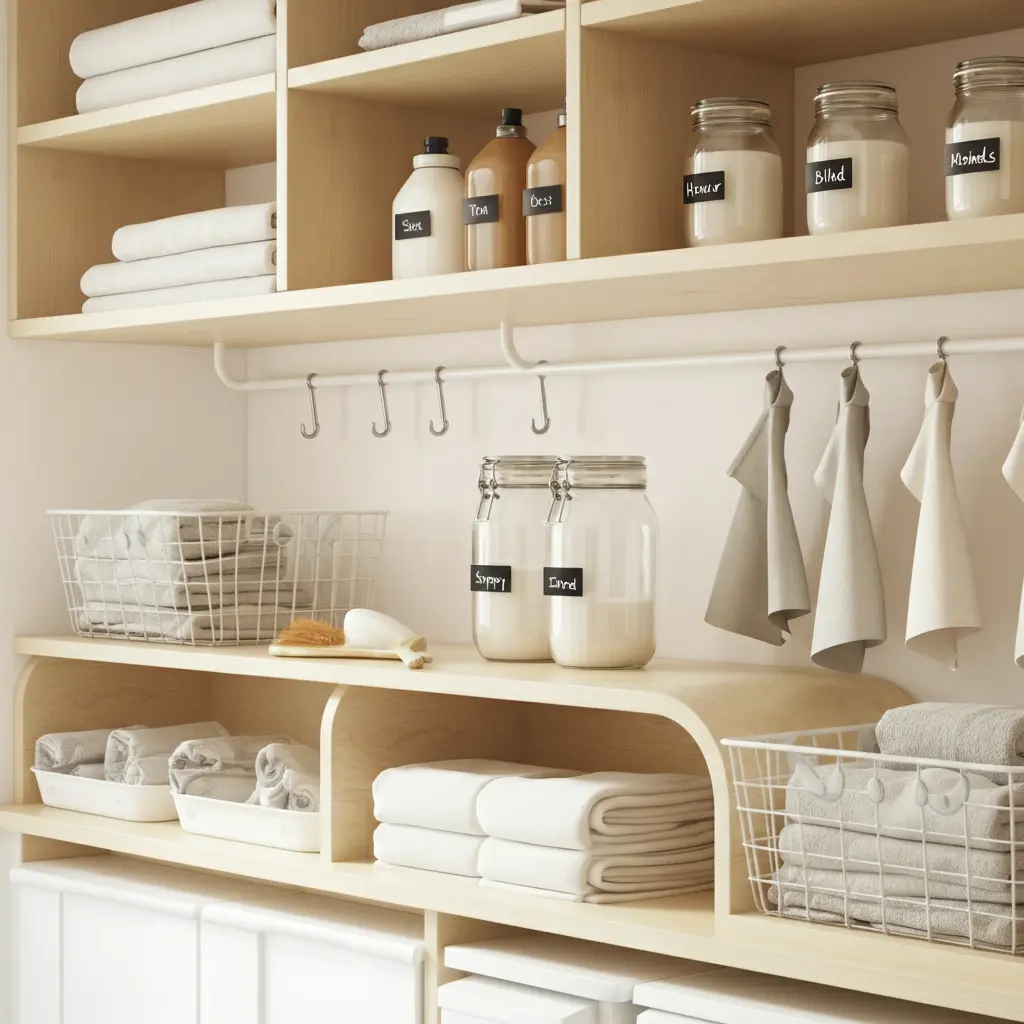
Design and Organization Ideas
Now that you have your DIY laundry shelves and cabinets, it’s time to organize.
- Use Baskets and Bins: Group similar items together in matching baskets or clear containers. This keeps shelves looking neat and makes it easy to find what you need.
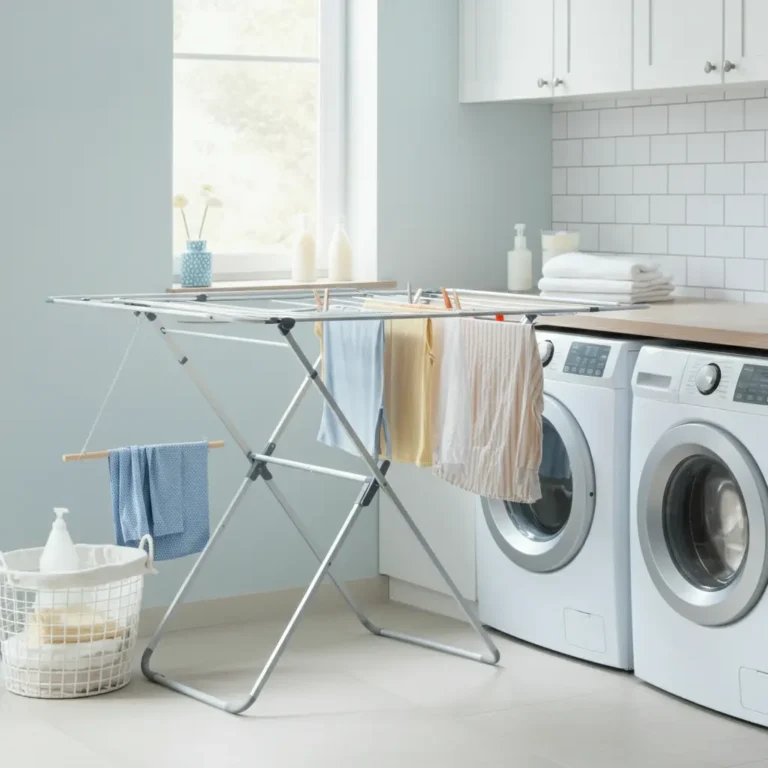
- Add a Hanging Rod: Install a short rod between two brackets or underneath a shelf. It’s the perfect spot for air-drying delicate items or hanging clothes right out of the dryer.
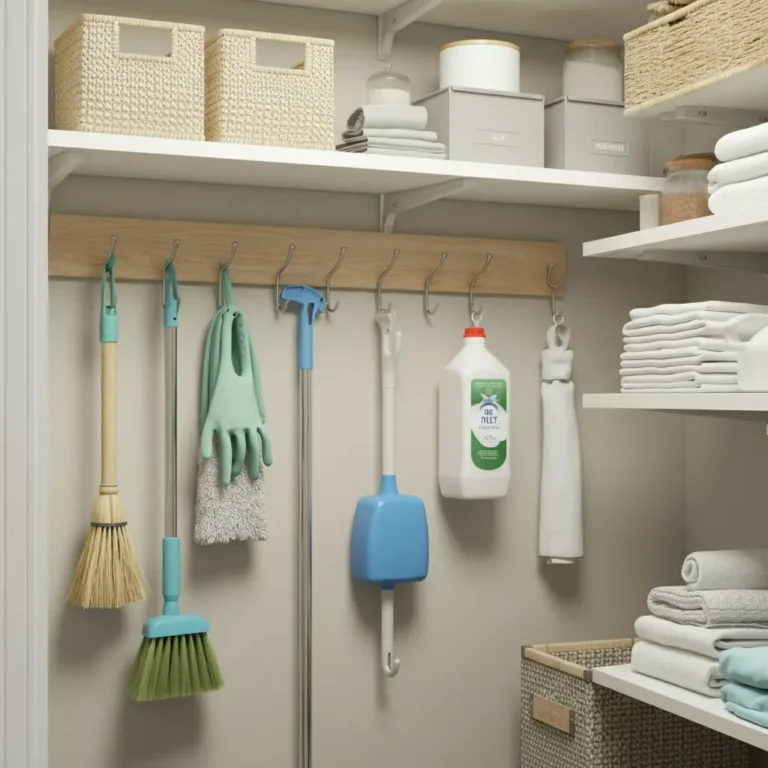
- Incorporate Hooks: Add hooks to the side of a cabinet or underneath a shelf to hang lint rollers, cleaning brushes, or mesh laundry bags.
- Label Everything: Use cute labels on your bins and jars. This is especially helpful for clear containers holding powders or pods. It’s a small touch that elevates your laundry organization.
Start Your DIY Laundry Project Today
Creating a functional and organized laundry area in a small apartment is entirely possible with a little DIY spirit. Building your own shelves and cabinets is a cost-effective way to get a custom solution that fits your space perfectly. From simple floating shelves to space-saving cabinets, these projects can transform a cluttered corner into one of the most efficient spaces in your home.
So grab your tape measure and get ready to build. You have the power to create a laundry area that is not only organized but also a reflection of your personal style.