DIY Hanging Planters for Small Spaces
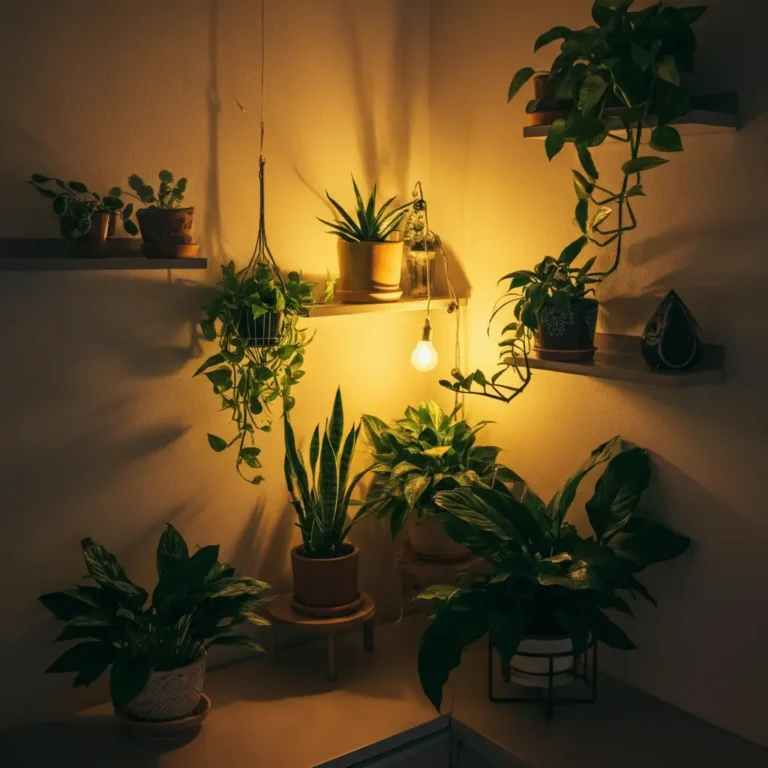
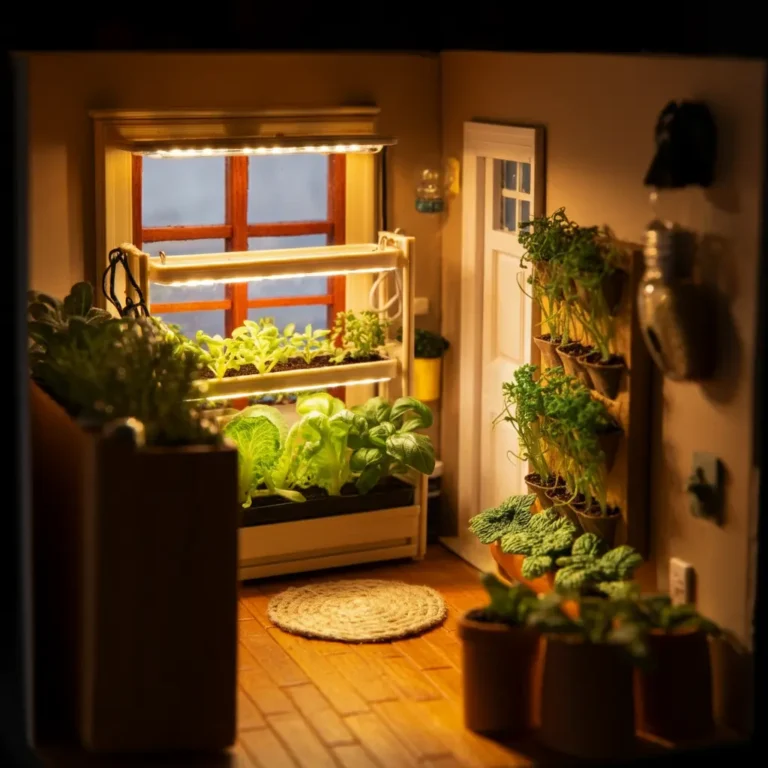
Living in a small space doesn’t mean you have to curb your love for plants. When floor and shelf space is a premium, the best solution is to look up! Hanging planters are a brilliant way to add lush greenery to any room without sacrificing valuable square footage. They draw the eye upward, create visual interest, and transform your home into a vibrant indoor garden.
While you can buy beautiful hanging planters, there’s a special kind of joy in making your own. DIY projects allow you to customize your decor, save money, and get creative. This guide will walk you through several easy and stylish DIY hanging planter ideas perfect for small spaces. Get ready to roll up your sleeves and create something beautiful for your plant collection.
Simple and Stylish DIY Hanging Planter Ideas
These projects are designed for all skill levels, using materials that are easy to find. Let’s get started on creating your own vertical garden.
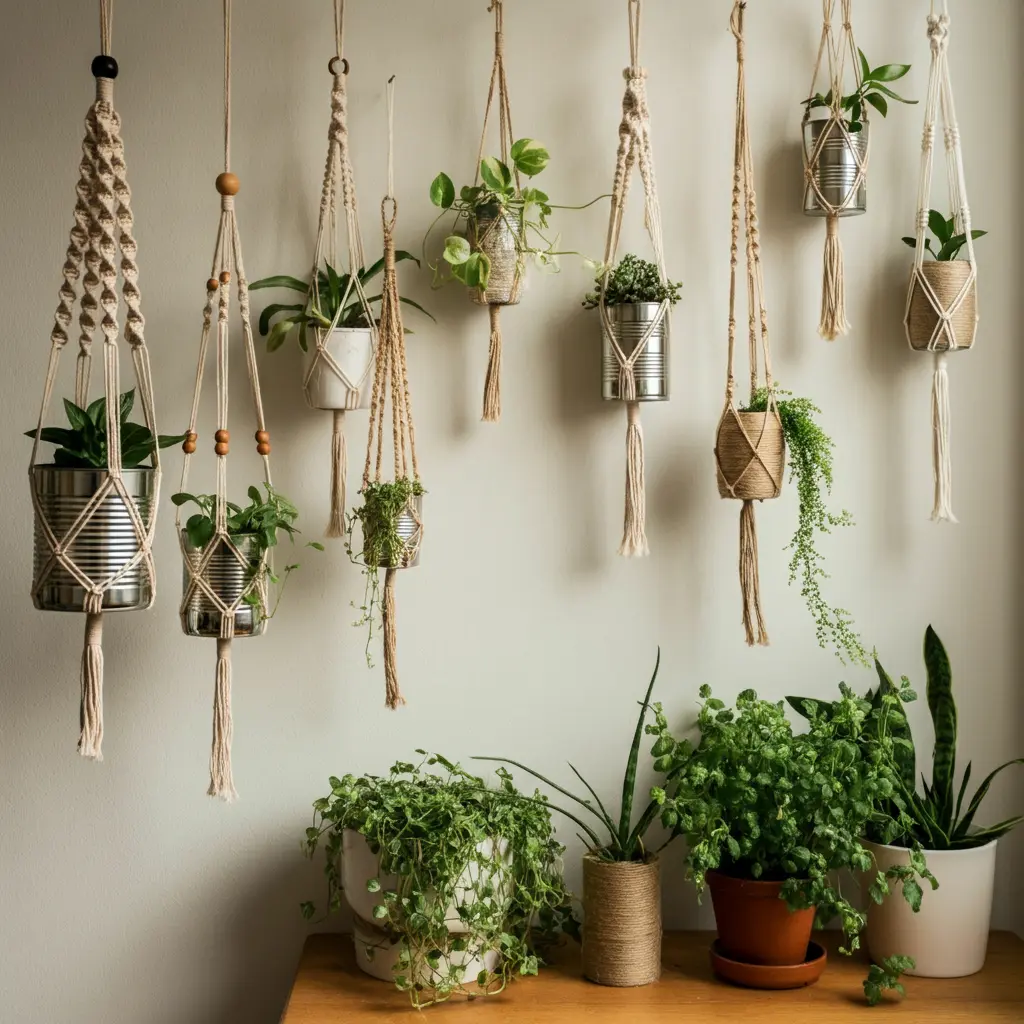
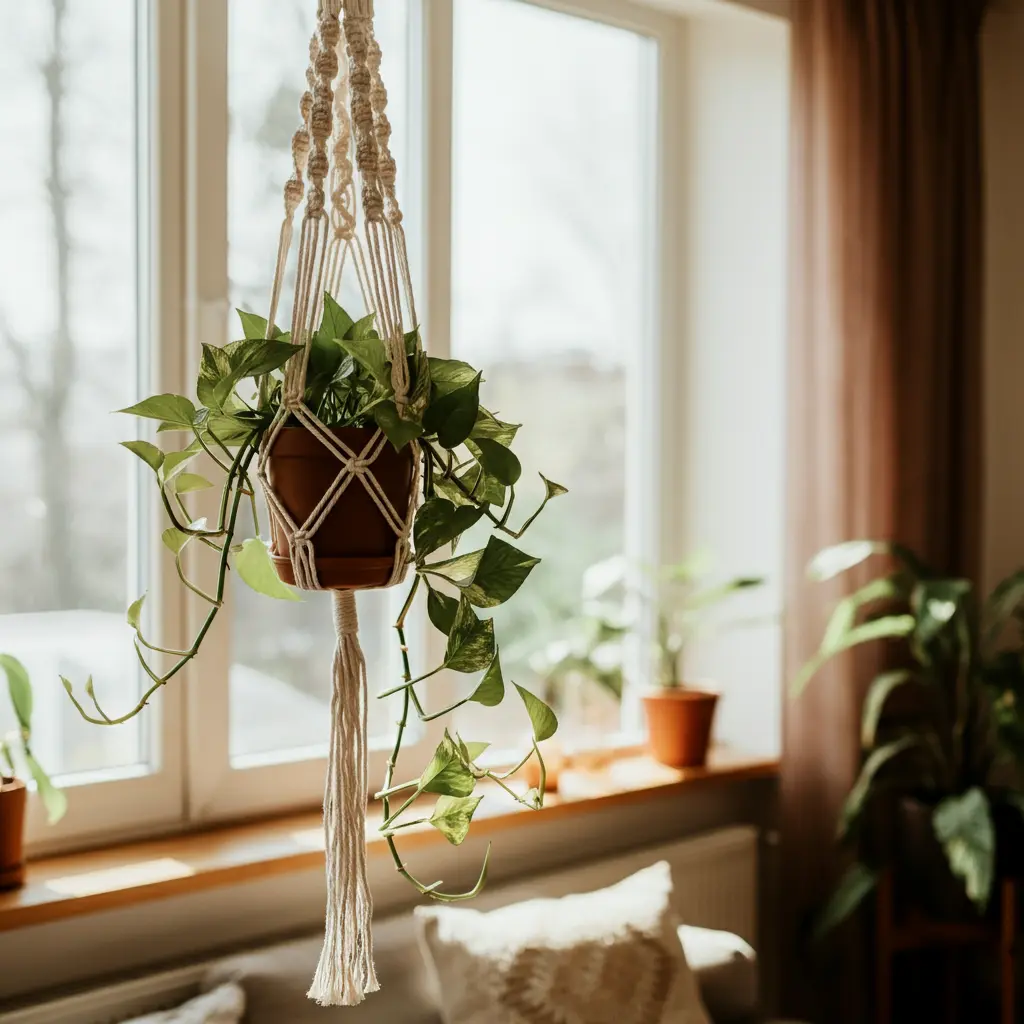
1. The Classic Macrame Hanger
Macrame has made a huge comeback, and for good reason. Its bohemian, textured look adds warmth and style to any room. Creating a simple macrame hanger is easier than you might think and requires just a few basic knots.
- What You’ll Need: Macrame cord (3mm or 4mm is a good start), a wooden or metal ring, scissors, and a plant pot.
- Step-by-Step:
- Cut eight pieces of cord, each about 6-8 feet long (longer for a larger pot).
- Fold all eight cords in half and loop them through the ring, creating a knot at the top. You should now have 16 strands hanging down.
- Separate the strands into four groups of four.
- About two inches down from the main ring, take one group of four strands and tie a square knot. Repeat this for the other three groups.
- Move down another few inches. This time, take two strands from one group and two strands from the adjacent group and tie another square knot. Continue this pattern all the way around, connecting all the groups.
- Repeat the previous step one more time to create another row of alternating knots.
- Finally, gather all 16 strands together at the bottom and tie one large gathering knot to form the base that will hold your pot. Trim the excess cord to create a tassel.
- Best For: Any small to medium-sized pot. Trailing plants like Pothos or Philodendrons look especially beautiful in macrame hangers.
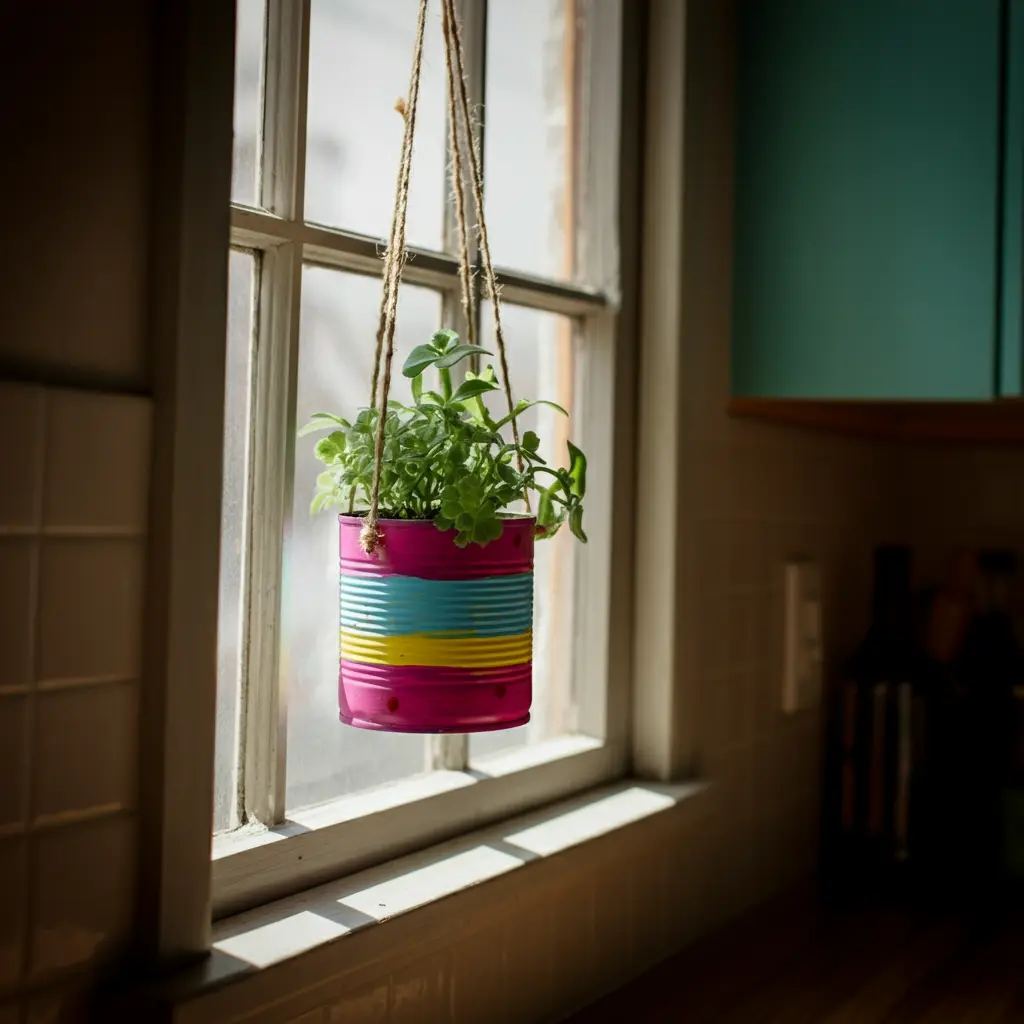
2. Upcycled Can Planter
Give your old tin cans a new life with this simple and eco-friendly DIY project. With a little paint and some string, you can turn trash into a trendy home for your herbs or small succulents.
- What You’ll Need: An empty and clean tin can, a hammer and nail, spray paint or acrylic paint, and twine or rope.
- Step-by-Step:
- Carefully remove any labels and glue from the can. Make sure the inside is clean and dry.
- Using a hammer and nail, punch a few small drainage holes in the bottom of the can.
- Punch two holes on opposite sides near the top rim for the hanger.
- Paint the can in your desired color. Spray paint gives a smooth, even finish, but acrylics work well too. You can get creative with patterns or color-blocking.
- Once the paint is completely dry, thread your twine or rope through the top holes and tie a secure knot to create a hanging loop.
- Best For: Small herbs in a kitchen window or a collection of succulents hanging on a wall.
3. Modern Leather Strap Hanger
For a sleek, minimalist look, a leather strap hanger is a perfect choice. This design is incredibly simple to make but looks very chic and modern. It’s a great way to display a beautiful ceramic or terracotta pot.
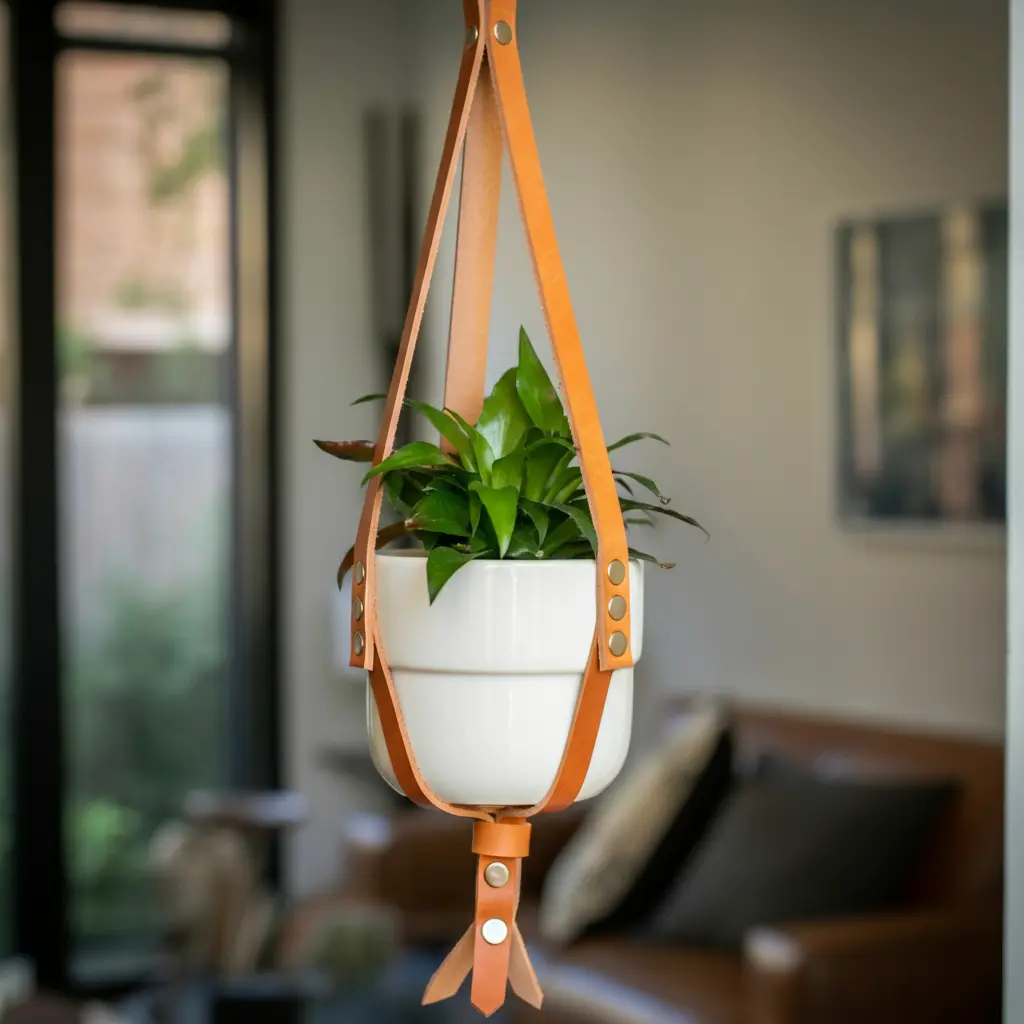
- What You’ll Need: A strip of leather or faux leather (about 1-2 inches wide and 3 feet long), a heavy-duty hole punch, a metal O-ring, and a strong screw or rivet.
- Step-by-Step:
- Lay your leather strip flat. Find the center and place your pot on it to ensure the strip is long enough to cradle the pot and come up the sides.
- Fold the leather strip in half to create a loop at the bottom. This loop will hold your pot.
- Bring the two ends of the leather strap together at the top.
- Slide the metal O-ring over both ends.
- Fold the ends of the straps over the ring and secure them. You can do this by punching a hole through both layers of leather and fastening them with a screw rivet for a polished look, or by simply using strong glue.
- Best For: Displaying a single, statement pot. It adds a touch of modern elegance to any corner.
4. Rustic Twine-Wrapped Bottle Planter
This is a fantastic project for upcycling glass bottles and jars. By wrapping them in twine, you can create a rustic, earthy planter perfect for small plant cuttings or air plants.
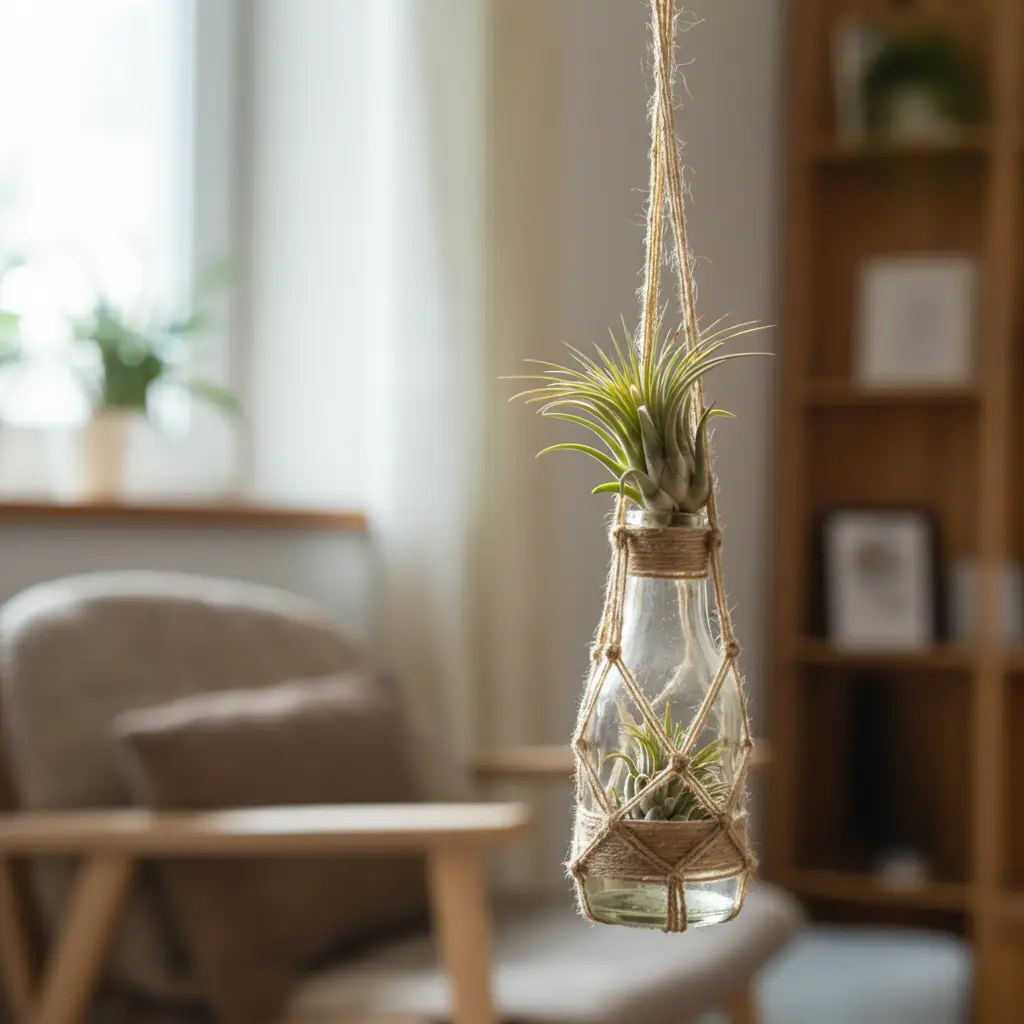
- What You’ll Need: A clean glass bottle or jar, jute twine, a hot glue gun, and scissors.
- Step-by-Step:
- Start at the bottom of the bottle. Apply a small dot of hot glue and press the end of the twine into it.
- Begin wrapping the twine tightly around the bottle, adding a small line of glue every few wraps to keep it secure. Make sure each new row of twine is snug against the last one.
- Continue wrapping until you reach the top of the bottle. Secure the end with another dot of glue.
- To create the hanger, cut three long, equal-length pieces of twine.
- Tie all three pieces together in a knot around the neck of the bottle, spacing them out evenly.
- Bring the three strands together at the top and tie them in a single knot to form a loop for hanging.
- Best For: Propagating plant cuttings in water or displaying air plants. They look beautiful hanging in a group near a window.
Conclusion
Creating your own hanging planters is a rewarding and practical way to bring more plants into your small space. These projects prove that you don’t need a lot of money or complicated tools to make something beautiful and functional. By turning everyday materials into custom decor, you add a personal touch to your home that money can’t buy.
So pick a project that inspires you, gather your materials, and start creating. Your walls are a blank canvas, and with a few DIY hanging planters, you can turn them into a thriving vertical garden that breathes life into your compact home.