DIY Closet Systems for Compact Homes
Living in a compact home means every square inch counts. When space is at a premium, a disorganized closet can quickly become a source of stress. Professional custom closet systems are a dream, but they often come with a hefty price tag. The good news? You can achieve a beautifully organized, high-end look on a budget with a DIY closet system tailored perfectly for your small space.
Creating your own closet system allows you to design a solution that fits your exact needs, wardrobe, and room dimensions. We’ll walk you through simple yet effective DIY closet systems that will help you conquer clutter and maximize storage in your compact home.
Getting Started: Plan Your Perfect Closet
Before you pick up a single tool, the most important step is to plan. A thoughtful plan prevents mistakes and ensures your finished closet is both functional and beautiful.

Assess Your Wardrobe
First, take a good look at what you need to store. Do you have mostly long dresses and coats, or do you own more shirts and pants that can be hung in a smaller space? Do you have a large shoe collection or lots of folded sweaters? Make a quick inventory:
- Hanging Clothes: Separate long items (dresses, coats) from short items (shirts, blouses, folded pants).
- Folded Items: Count your sweaters, jeans, and t-shirts.
- Shoes: How many pairs do you need to store?
- Accessories: Don’t forget bags, belts, scarves, and jewelry.
Knowing what you have helps you decide what kind of storage you need most.
Measure Everything
Grab a tape measure and get the exact dimensions of your closet: height, width, and depth. Note the location of any obstacles, like light fixtures or oddly angled walls. A precise measurement is crucial for a DIY project that fits perfectly.
The Modular Marvel: Cube and Bookshelf Systems
One of the easiest and most versatile DIY closet systems involves using modular cube organizers or standard bookshelves. This method requires minimal construction and is perfect for renters or those new to DIY.

How to Create It:
- Select Your Base: Purchase one or two narrow bookshelves (like the IKEA BILLY) or a set of cube organizers (like the KALLAX). White is a great choice as it makes a small space feel brighter and bigger.
- Build the Foundation: Assemble the bookshelves or cube units and place them inside your closet. You could place one on each side for a symmetrical look or group them on one side to leave space for long hanging items.
- Add a Hanging Rod: Install a sturdy closet rod between the two bookshelves or from a shelf unit to the opposite wall. This creates an instant space for your hanging clothes. Ensure you secure the rod brackets properly into the wall studs for support.
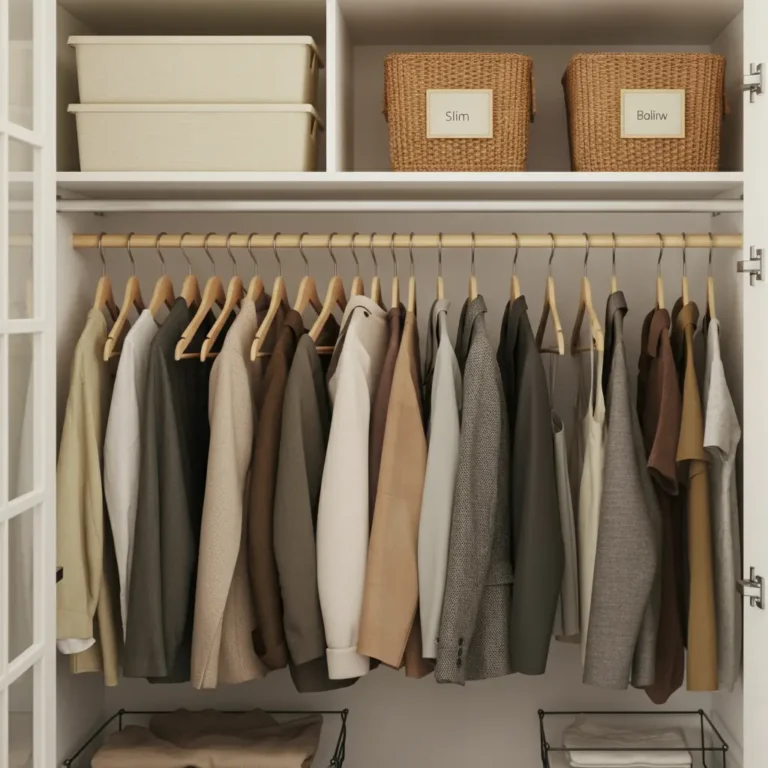
- Customize with Bins: Use fabric or woven baskets that fit inside the cubes or on the shelves. This is perfect for storing socks, accessories, or folded t-shirts, keeping everything neat and hidden from view.
This system is incredibly flexible and can be reconfigured as your needs change.
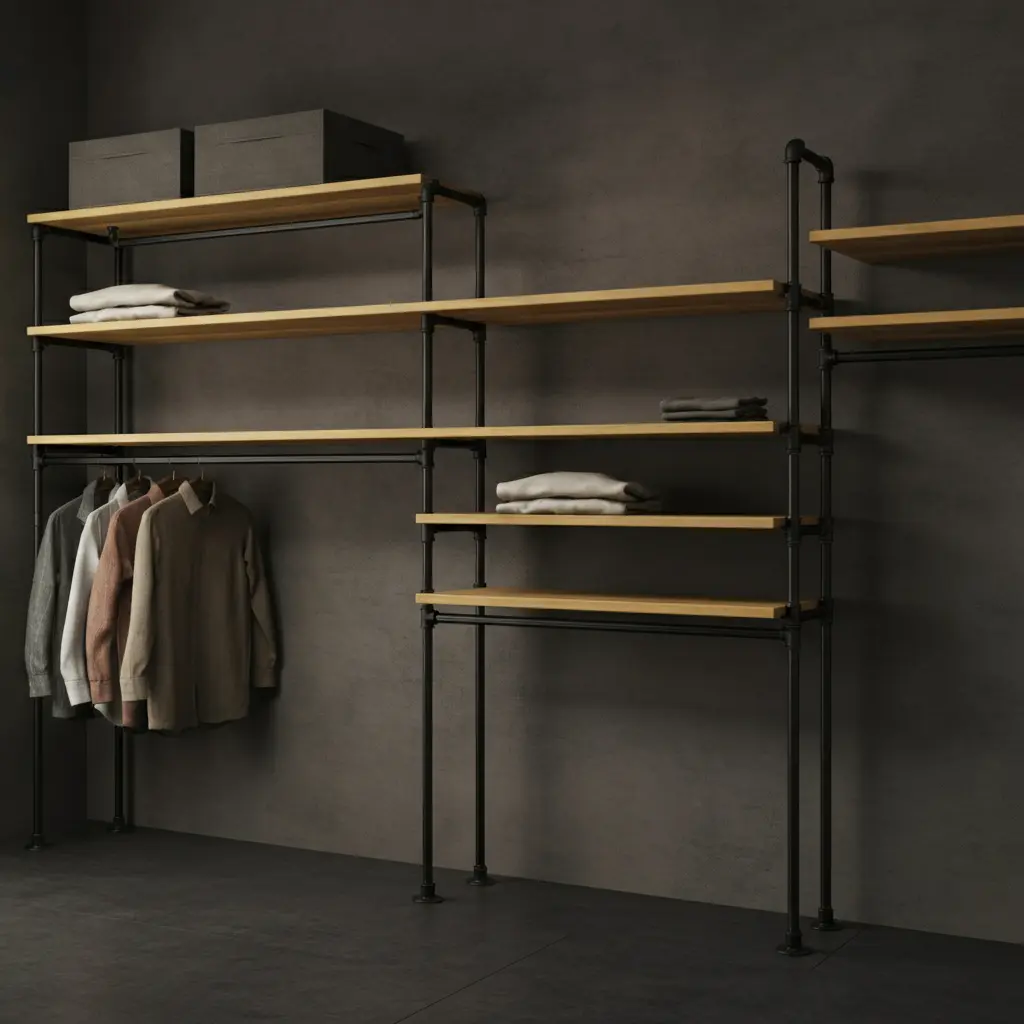
The Industrial Pipe Dream: Open and Edgy
For a modern, industrial look, a closet system made from pipes and wood is a fantastic choice. It’s sturdy, stylish, and completely customizable. This open-concept design works well in a reach-in closet or even along an open wall in a bedroom.
How to Create It:
- Gather Your Materials: You will need black or galvanized steel pipes and fittings (flanges, elbows, tees) from your local hardware store. You’ll also need wooden planks for shelves. Pine is an affordable and easy-to-work-with option.
- Design Your Layout: Sketch out your design. A common setup includes two vertical pipes running from floor to ceiling, with horizontal pipes between them for hanging clothes. You can add flanges to support wooden shelves above or below the hanging rods.
- Assemble the Pipe Structure: Clean the pipes to remove any grease, then assemble your structure. It’s like building with LEGOs for adults! Don’t tighten everything completely until you’re sure of the layout.
- Mount and Secure: Use flanges to mount the pipe system securely to the wall and/or floor and ceiling. Always screw into wall studs for maximum stability.
- Add the Shelves: Cut your wooden planks to the desired length, then sand and stain or paint them. Place them on the pipe fittings you designated as shelf supports.
This rugged system is perfect for holding heavy items like coats and jeans while adding a strong design element to your room.
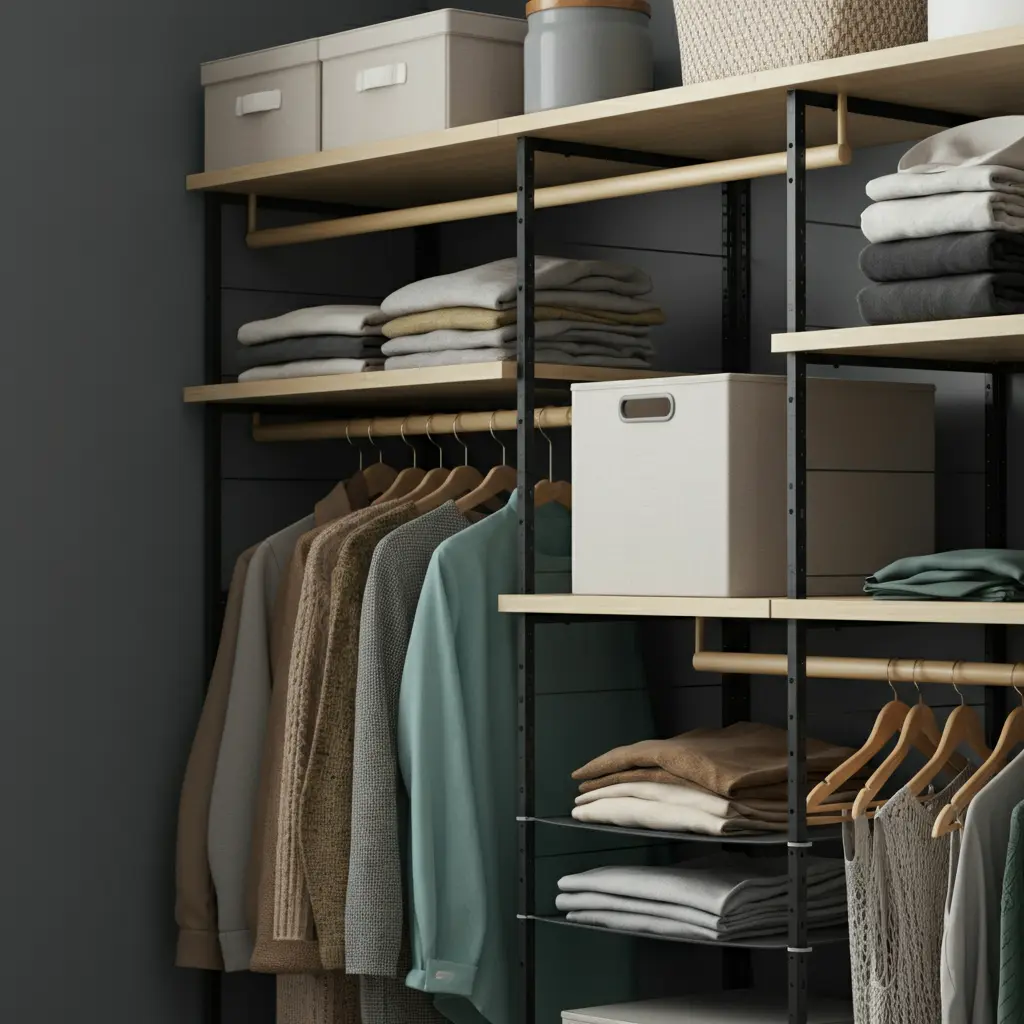
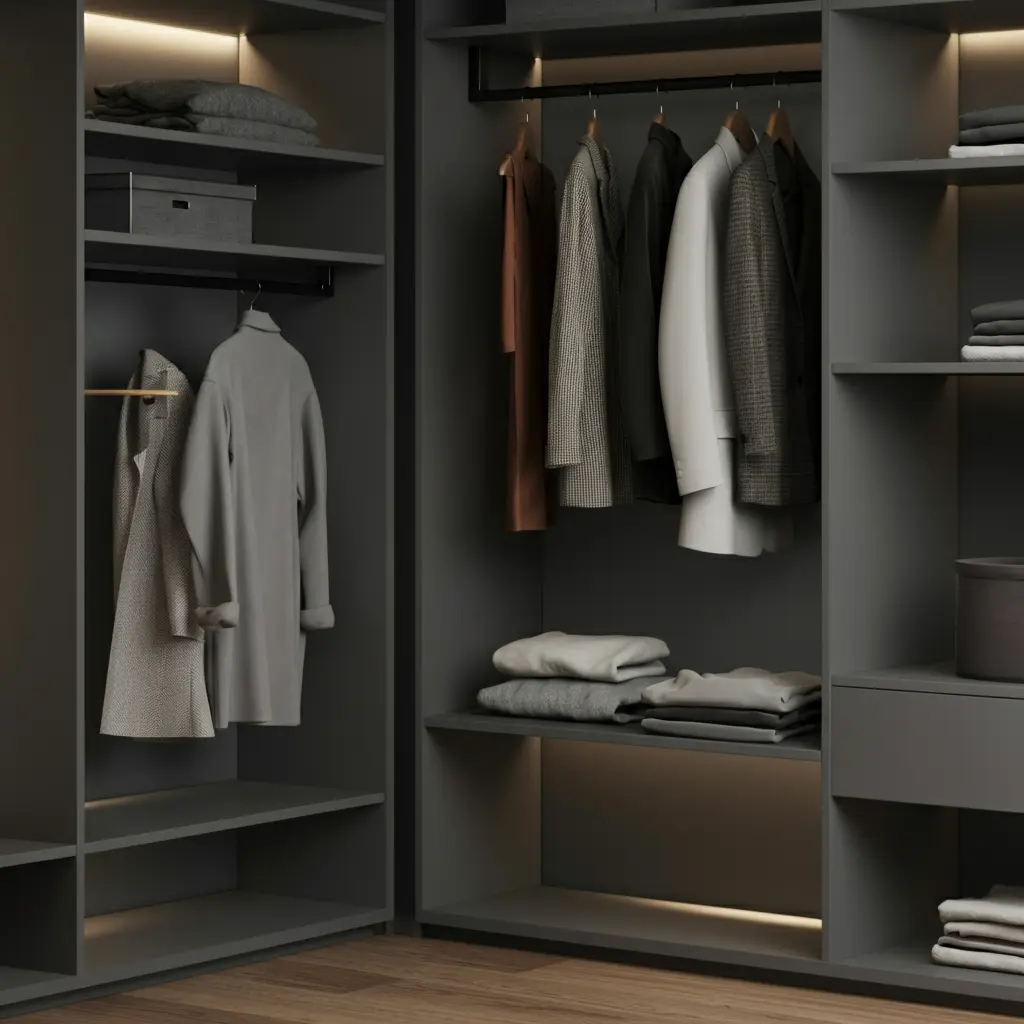
The Floating and Free: Minimalist Wall-Mounted System
If you want a clean, airy look that keeps the floor clear, a wall-mounted system with floating shelves and hanging rods is the perfect DIY project. This approach makes a small closet feel more open and less cluttered.
How to Create It:
- Install the Foundation: The key to this system is the wall standards. These are vertical metal tracks with slots that you screw directly into the wall studs.
- Add Brackets and Shelves: Once the standards are in place, you can insert adjustable brackets at any height. Place pre-made laminate shelves or custom-cut wood planks onto the brackets. The adjustability is perfect for changing your setup later.
- Incorporate Hanging Space: Most wall-mounted systems have special brackets designed to hold closet rods. Simply snap these into the standards and place a rod between them. You can create double-hanging sections for shirts and pants and a single-hanging section for dresses.
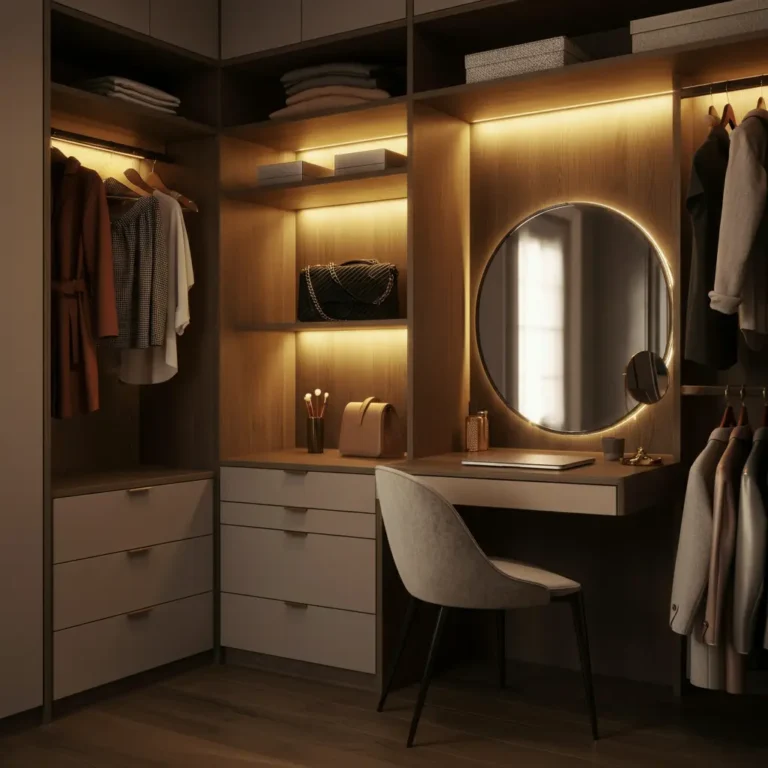
- Consider Drawers: To add concealed storage, you can find pre-made drawer units that are designed to hang from the wall standards, or simply place a small, freestanding dresser underneath a hanging section.
Finishing Touches to Elevate Your DIY Closet
Once the main structure is built, a few final details can make your DIY system look professionally done.
- Paint It Cohesive: Paint the inside of your closet a bright white or a color that matches your bookshelf units. This creates a seamless, built-in appearance.
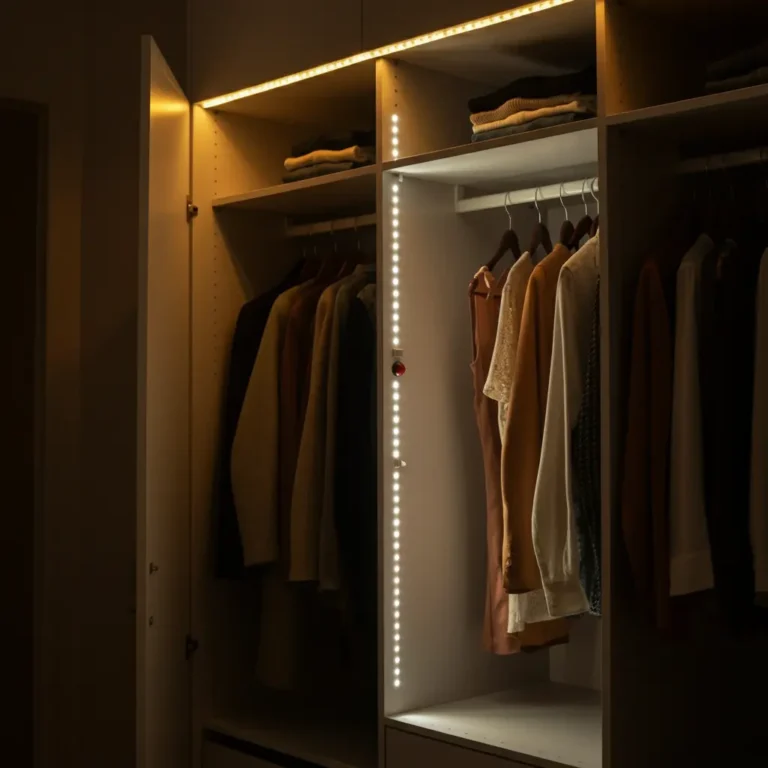
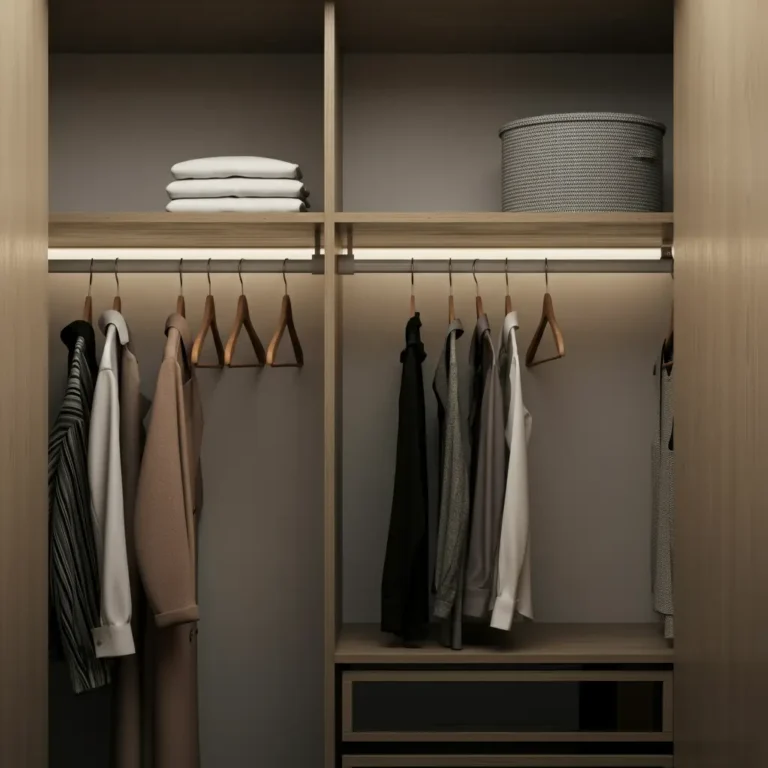
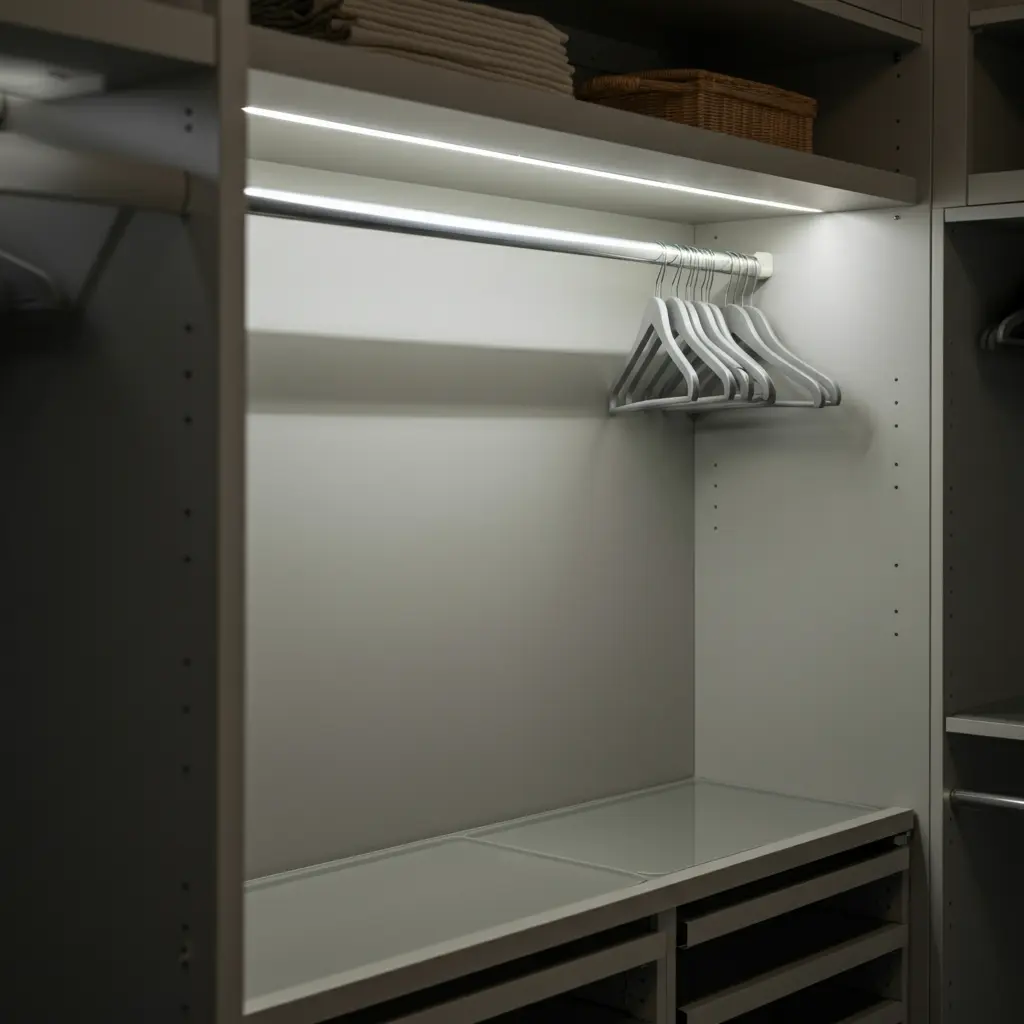
- Add Smart Lighting: A dark closet feels smaller. Install battery-powered, motion-sensor LED lights under shelves or along the door frame. They are easy to install and make a huge difference.
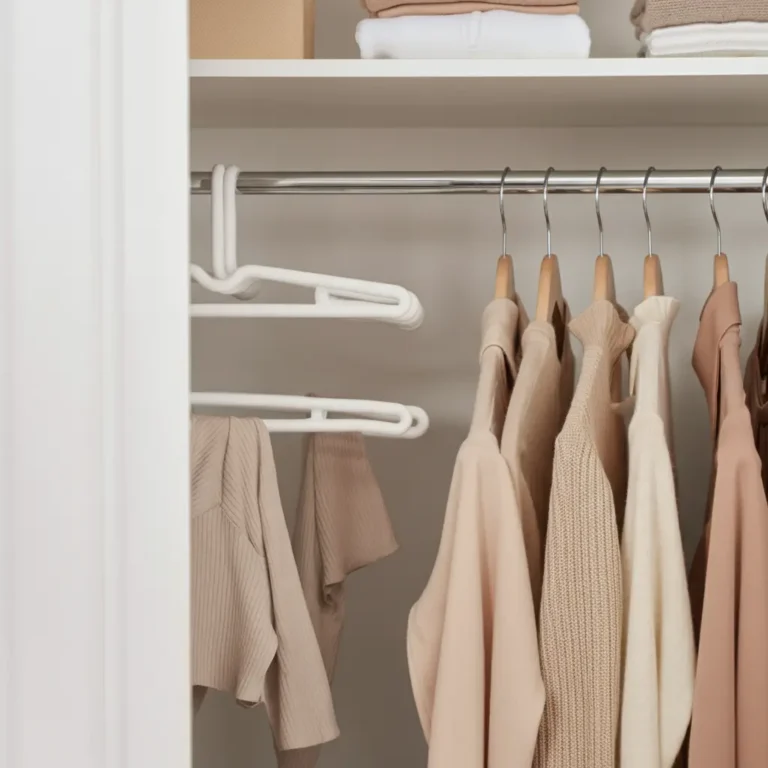
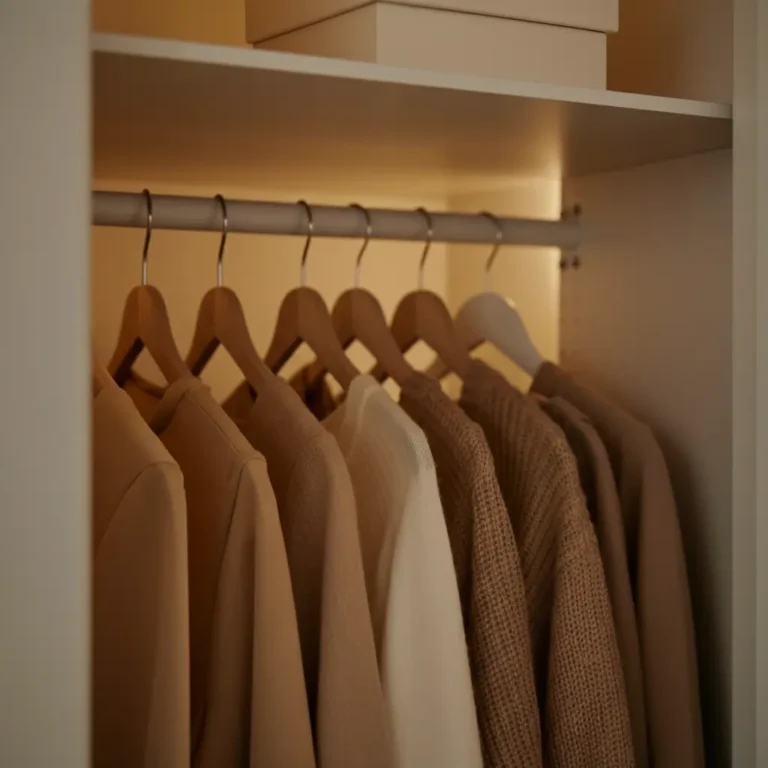
- Upgrade Your Hangers: Switch to a single style of slim, non-slip hangers. This instantly makes your closet look more organized and can save a surprising amount of space.
With a bit of planning and creativity, you can easily build a DIY closet system that tames the clutter in your compact home. Your new, personalized closet will not only make your daily routine easier but will also be a stylish feature you’ll be proud to have created yourself.