DIY Window Treatments for Small Apartments
Living in a small apartment often means getting creative with your decor. Every inch of space counts, and finding window treatments that offer privacy and style without overwhelming the room can be a challenge. Store-bought solutions can be expensive and might not fit your unique window sizes or aesthetic. This is where the magic of DIY comes in.
Creating your own window treatments is a budget-friendly way to add a personal touch to your apartment. You can customize the size, fabric, and style to perfectly match your decor and solve your small-space dilemmas. This guide is packed with simple, stylish, and space-saving DIY window treatment ideas perfect for any small apartment.
Why DIY is Perfect for Small Apartment Windows
When you’re dealing with a compact living area, custom solutions are often the best. Standard curtains can be too bulky, and custom-fit blinds can be costly. DIY projects bridge this gap perfectly.
- Budget-Friendly: You can achieve a high-end look for a fraction of the cost by using affordable materials.
- Perfect Fit: Non-standard window sizes are common in apartments. DIY allows you to create a treatment that fits your window’s exact dimensions.
- Personalized Style: You get to choose the fabric, color, and design, ensuring your window treatments perfectly reflect your personality and complement your decor.
- Space-Saving Designs: Many DIY options are inherently minimalist and take up less visual and physical space than heavy, traditional drapery.
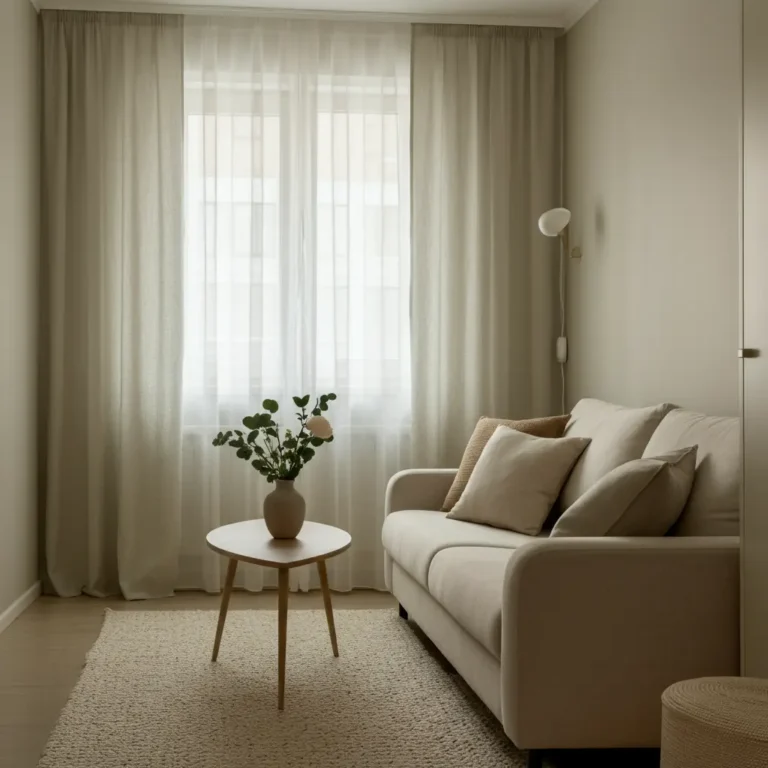
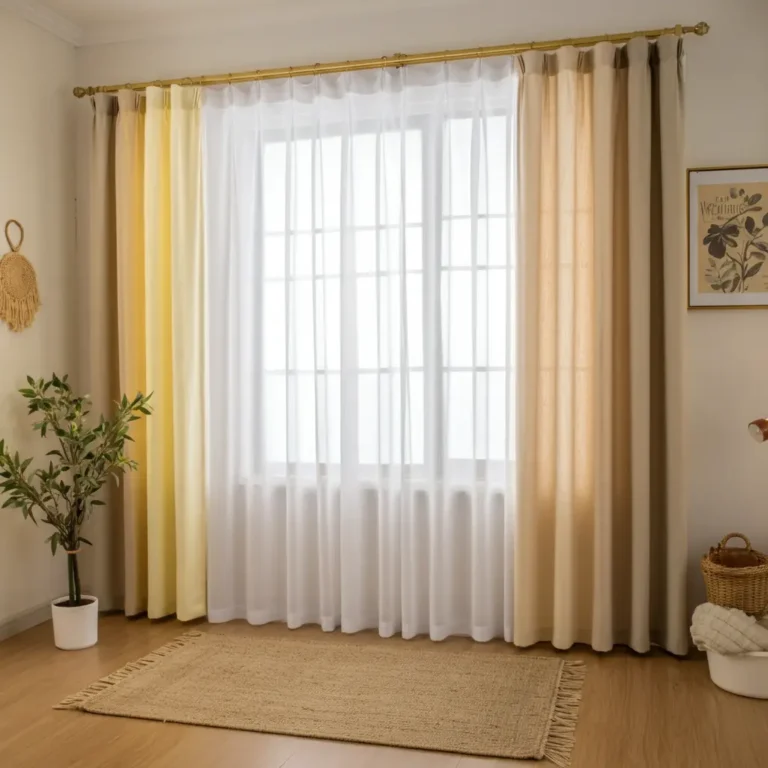
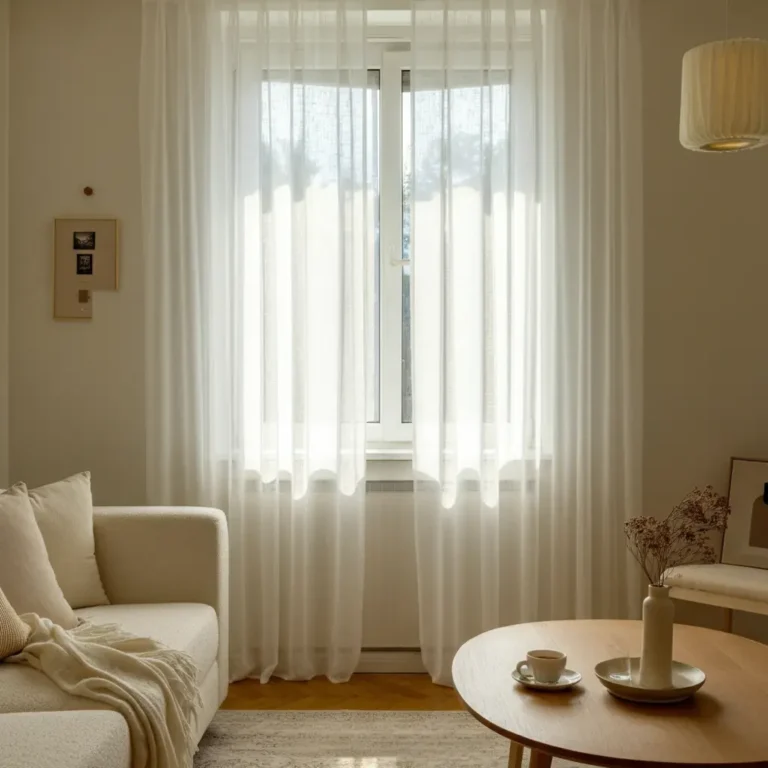
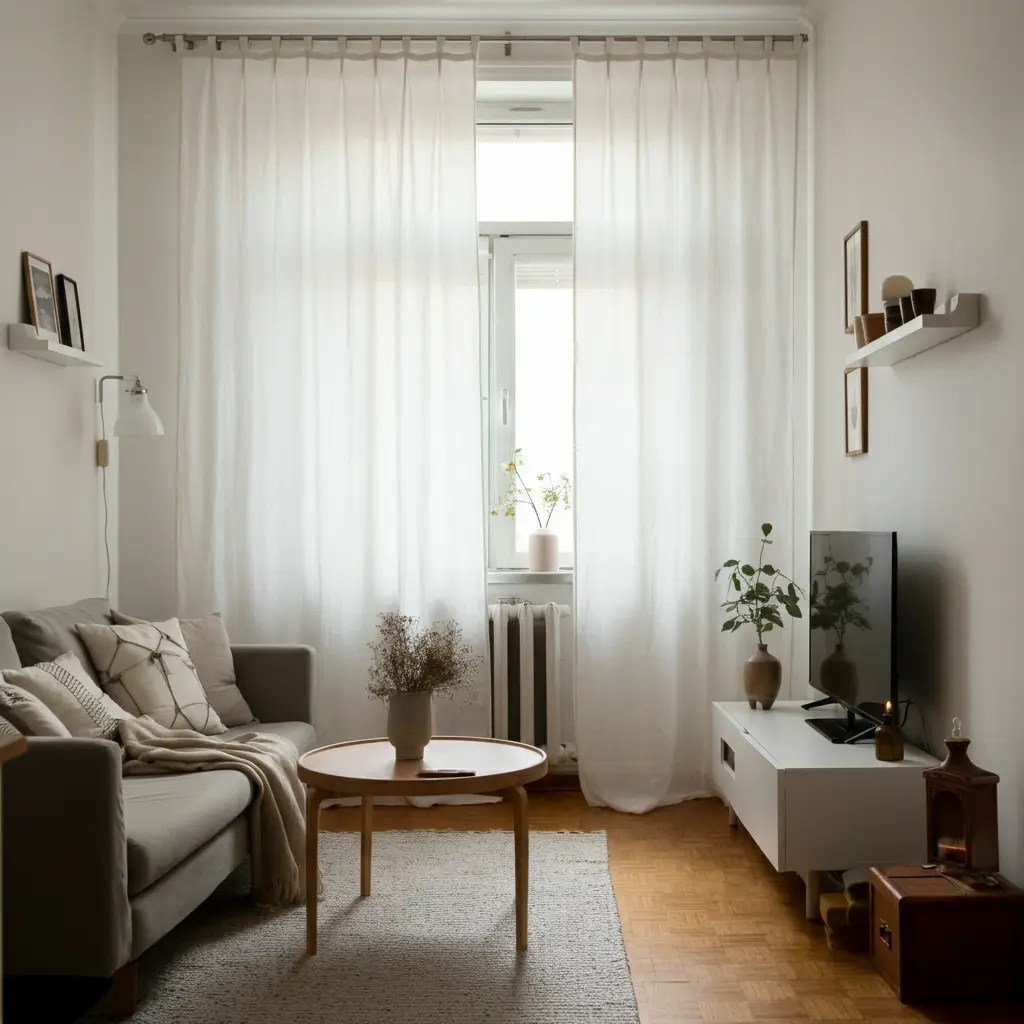
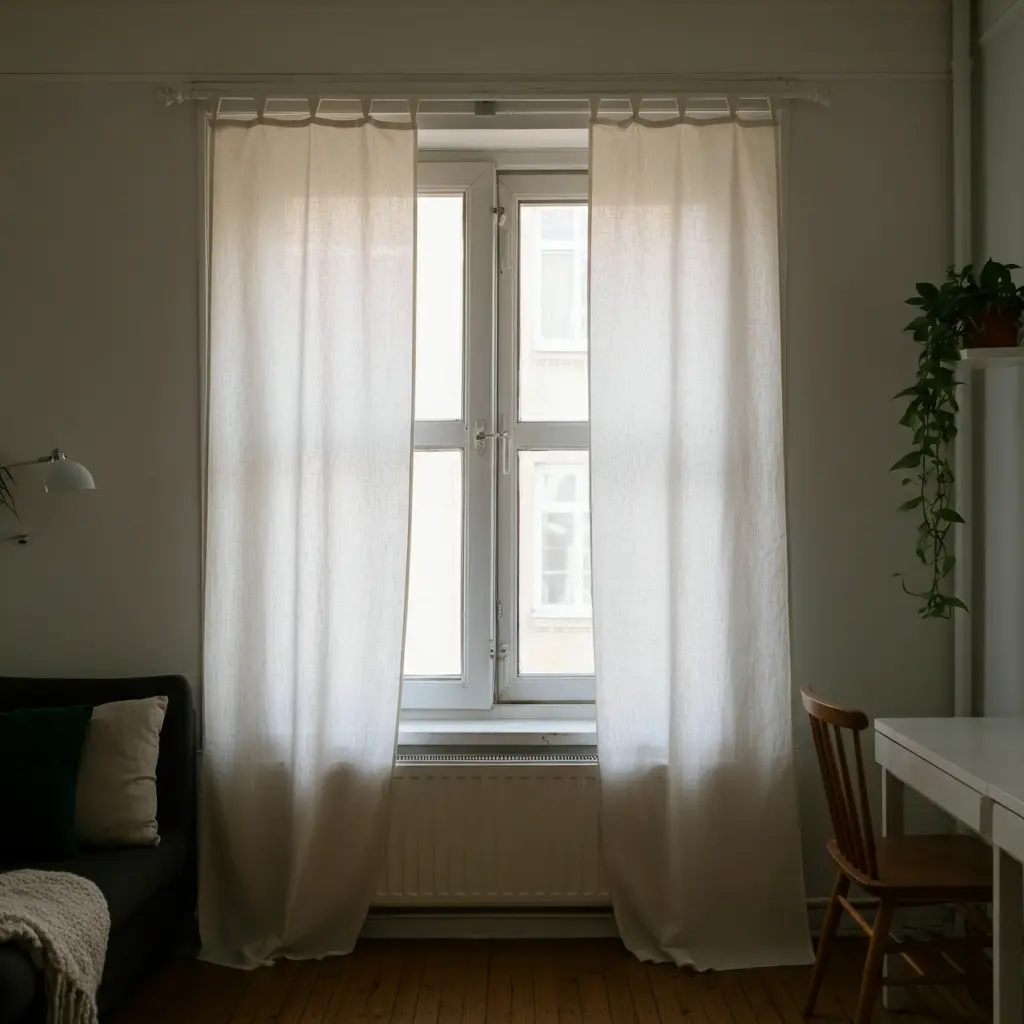
1. Simple & Chic: DIY No-Sew Curtains
Don’t have a sewing machine? No problem. This is one of the easiest and most popular DIY window treatments. No-sew curtains offer a clean, finished look without a single stitch.
How to Make Them:
All you need is your chosen fabric, fusible bonding web (iron-on hem tape), a pair of scissors, a measuring tape, and an iron.
- Measure Your Window: Decide how high and wide you want your curtains. A great space-saving trick is to hang the rod high (4-6 inches above the window frame) and wide (3-6 inches beyond the frame on each side). Measure from the rod to where you want the curtains to end (kissing the floor is a great look).
- Cut Your Fabric: Lay your fabric flat and cut it to the desired length and width. Remember to add extra inches for the hems and rod pocket (about 3 inches for the bottom hem and 4 inches for the top rod pocket).
- Create the Hems: Fold the fabric for your side and bottom hems, place the fusible tape inside the fold, and press with a hot iron according to the tape’s instructions. This creates a clean, durable bond.
- Make the Rod Pocket: Fold the top edge down to create a pocket large enough for your curtain rod to slide through. Use the fusible tape to secure it, leaving the ends open.
Best For: Renters, beginners, and anyone looking for a quick, stylish update. Use a lightweight fabric like linen or cotton in a light color to keep the room feeling bright and airy.
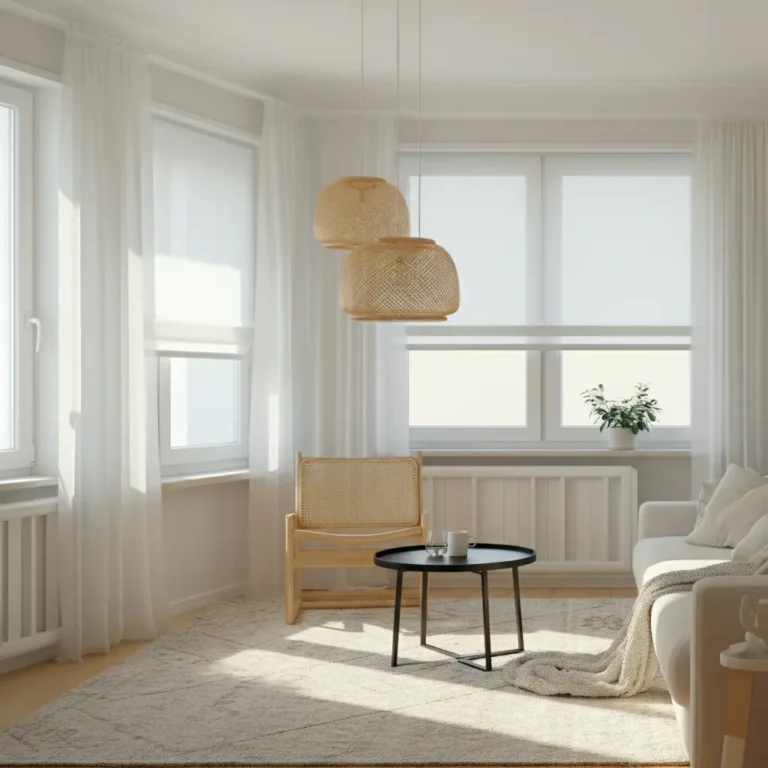
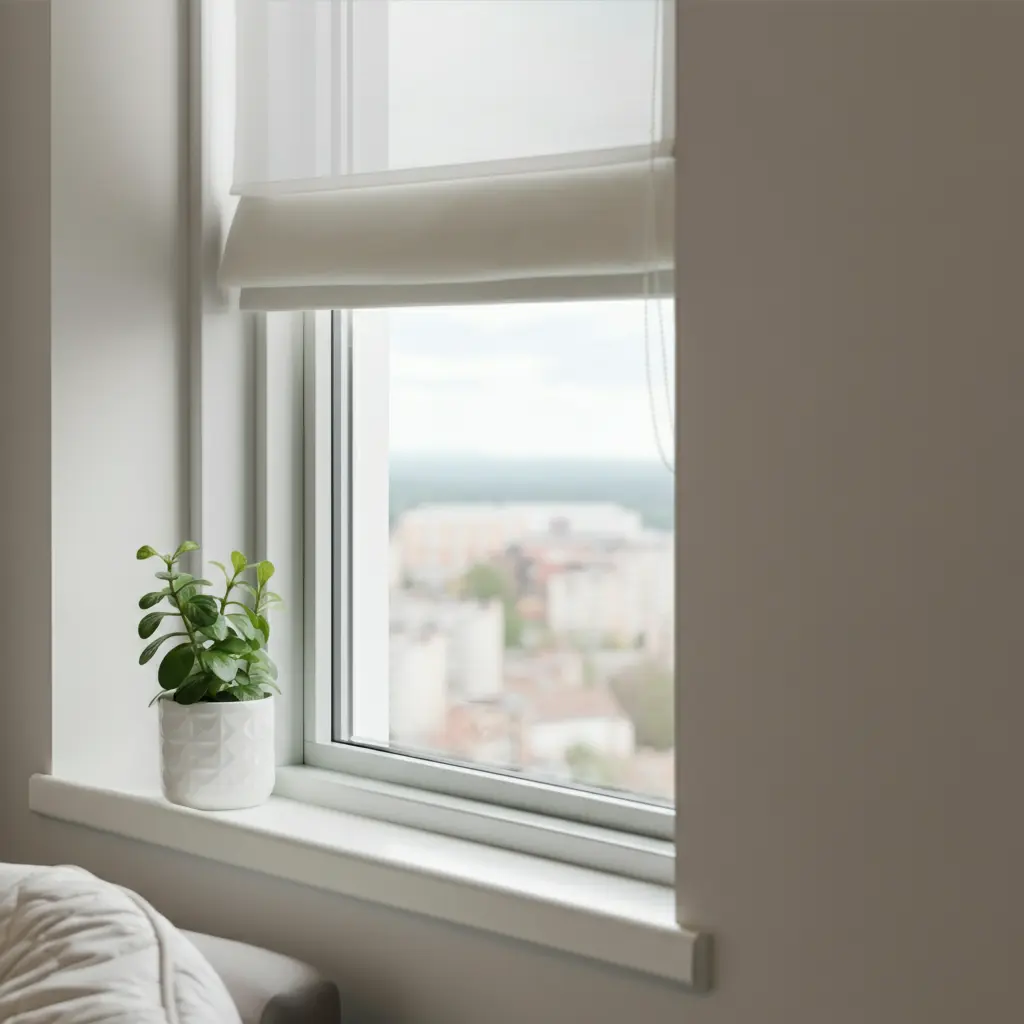
2. Minimalist & Modern: DIY Frosted Glass Privacy Film
For windows where you need privacy but still want to let in maximum light (like in a bathroom or a street-facing bedroom), a DIY frosted glass look is a perfect solution. It’s sleek, modern, and takes up zero physical space.
How to Apply It:
You can buy frosted or decorative window film online or at hardware stores. The application is simple.
- Clean the Window: Thoroughly clean the glass with a glass cleaner and a lint-free cloth.
- Measure and Cut: Measure your window pane and cut the film to size. It’s often easier to cut it slightly larger and trim the excess later.
- Spray and Apply: Spray the window generously with a solution of water and a tiny drop of dish soap. Peel the backing off the film and apply the wet, adhesive side to the wet glass. The water allows you to slide the film into the perfect position.
- Squeegee and Trim: Use a squeegee to smooth out all the air bubbles and water, working from the center outwards. Once it’s smooth, use a craft knife to trim the excess film along the edges of the pane.
Best For: Bathrooms, front doors, and any window where you need consistent privacy without blocking light.
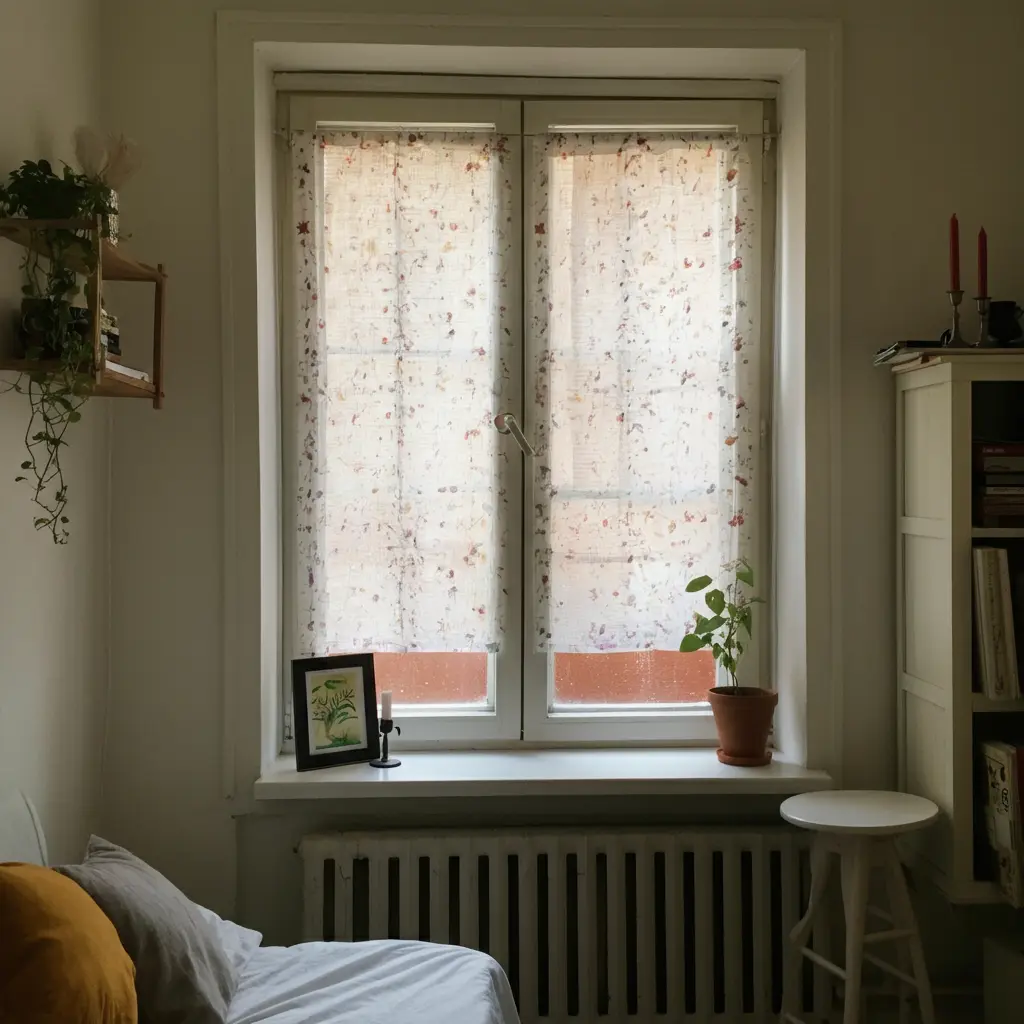
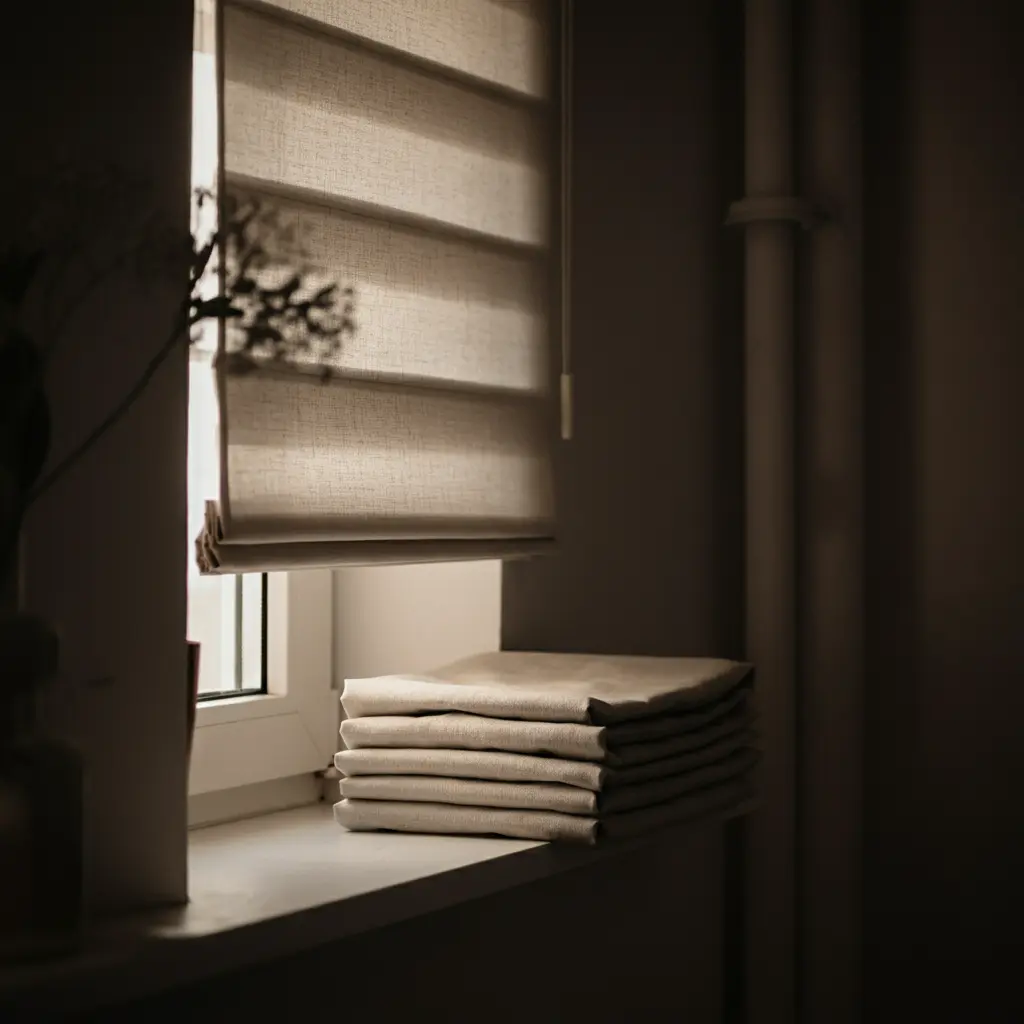
3. Rustic & Natural: DIY Simple Fabric Roman Shade
Roman shades offer a tailored, sophisticated look that is much more space-efficient than curtains. While traditional Roman shades can be complex, you can create a simple, no-sew version that looks just as beautiful.
How to Make It:
This project requires fabric, several small tension rods (the number depends on your window height), and fusible bonding web.
- Prepare the Fabric Panel: Measure the inside of your window frame and cut a piece of fabric to those exact dimensions, plus an inch on all sides for hems. Use iron-on hem tape to create finished edges.
- Create Pockets for Rods: Lay the fabric panel flat. Starting from the bottom, measure and fold the fabric to create horizontal pockets every 8-10 inches. Secure these folds with iron-on hem tape, leaving the sides open for the tension rods to slide in.
- Insert Tension Rods: Slide a small tension rod into each pocket.
- Install: Mount the top tension rod inside the top of your window frame. The other rods will hold the fabric folds in place. To open the shade, you simply fold it up manually from the bottom and rest the lowest rod on the window sash or hooks.
Best For: Kitchens, home offices, and bedrooms where you want a soft, fabric look without the bulk of curtains.
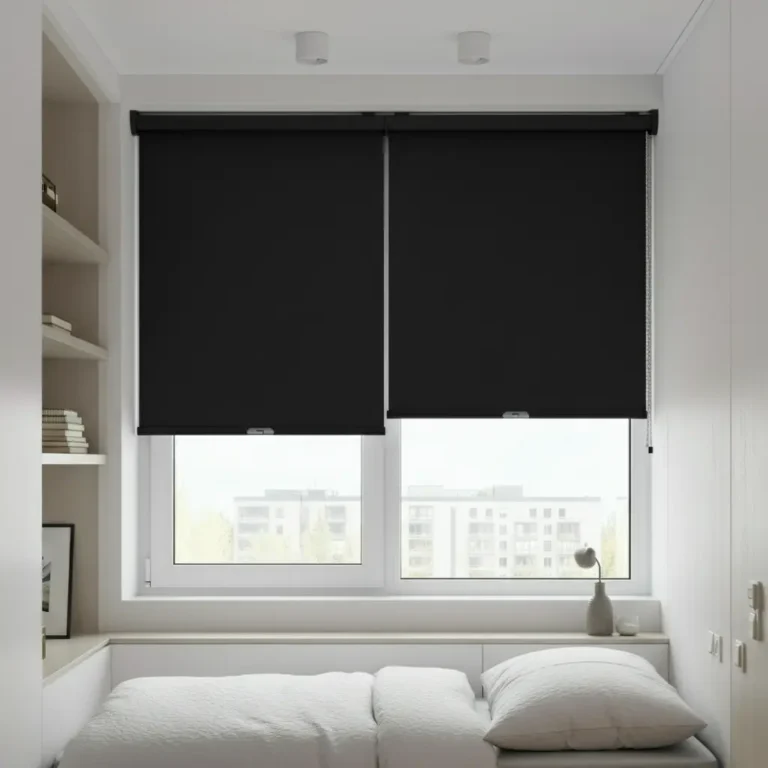
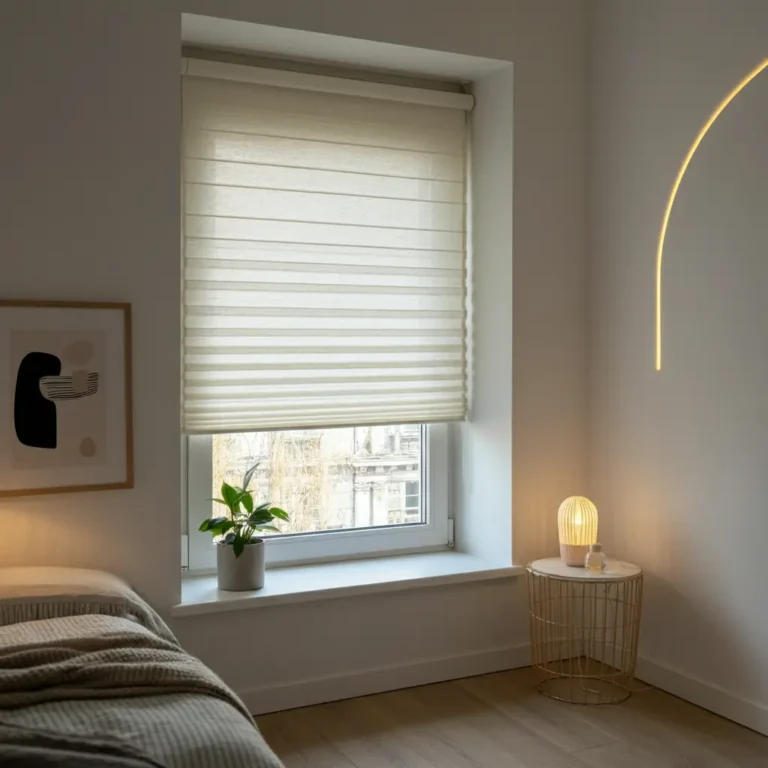
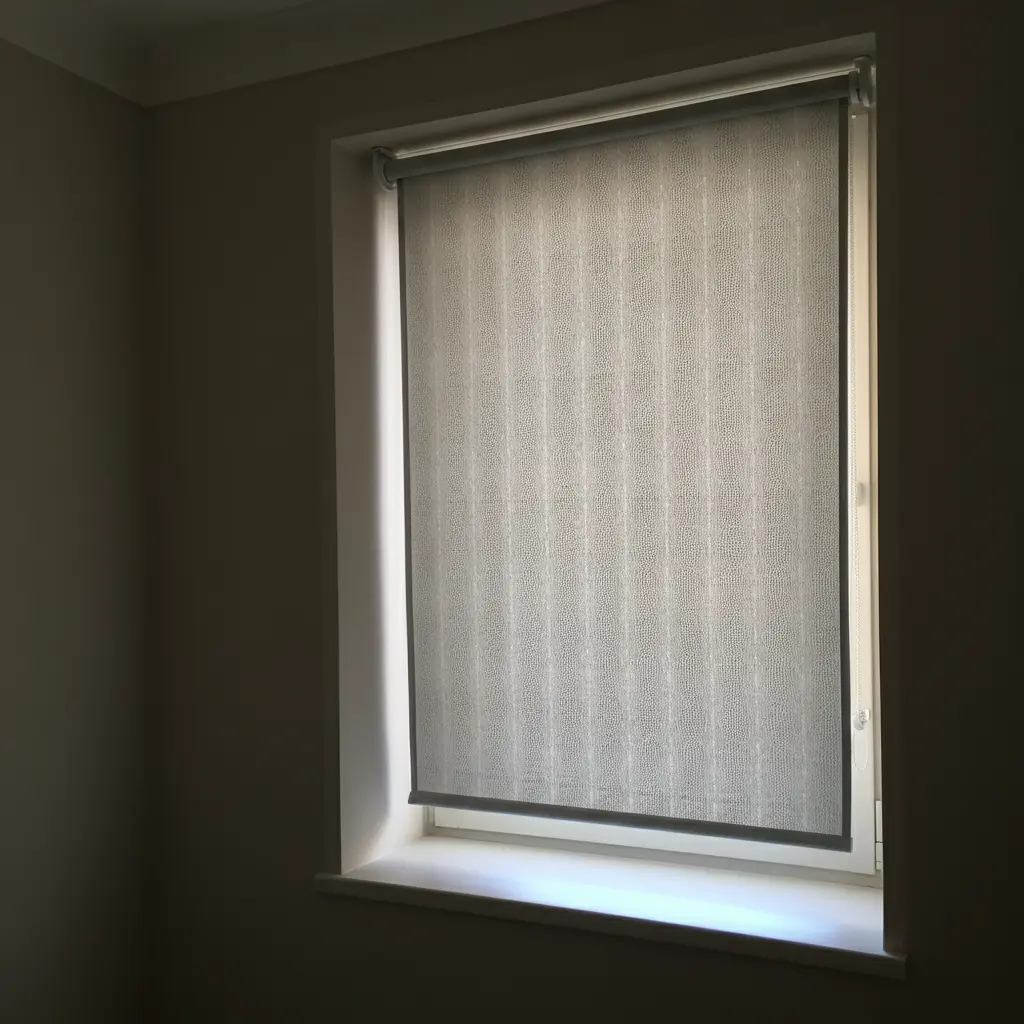
4. Clever Light Control: DIY Stenciled Roller Shades
Plain white roller shades are affordable and functional, but they can be a bit boring. Give them a custom, high-end makeover with nothing more than a stencil and some paint.
How to Do It:
You’ll need a basic vinyl or fabric roller shade, a stencil of your choice, and acrylic or fabric paint.
- Prepare Your Workspace: Lay the roller shade completely flat on a protected surface.
- Plan Your Design: Position your stencil where you want the pattern to be. You can create an all-over pattern or just a simple border.
- Paint the Stencil: Secure the stencil with painter’s tape. Use a stencil brush or a small foam roller to apply the paint in a dabbing motion. Use a minimal amount of paint to prevent bleeding under the stencil.
- Repeat and Dry: Carefully lift the stencil and reposition it to continue the pattern. Allow the paint to dry completely before rolling the shade back up and reinstalling it.
Best For: Adding a pop of personality to any room. A subtle, tone-on-tone pattern can add texture, while a bold color can create a focal point.
Conclusion: Your Apartment, Your Style
You don’t need a big budget or professional skills to create beautiful, functional window treatments for your small apartment. With a little creativity and a few simple materials, you can craft solutions that save space, control light, and infuse your home with personal style. Whether you opt for no-sew curtains, a chic privacy film, or custom-painted shades, these DIY projects prove that even the tiniest windows can make a big impact.